Sign In / Sign Up
 Orders
 Product Keys
 Downloads

Step-by-Step Guide: Installing and Activating Office / Project / Visio 2010
To set up Office 2010, ensure compatibility with your PC’s operating system. Here’s a guide for installation across different Windows environments:
Steps to Install Office 2010 on Windows 8.1, 10, and 11
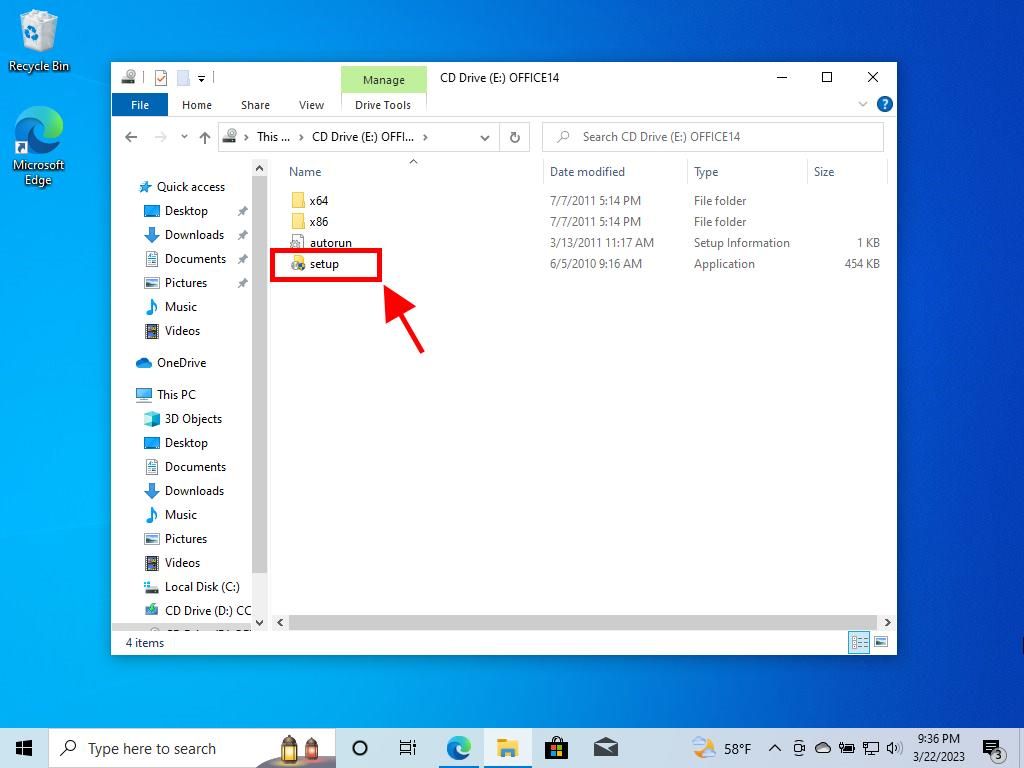
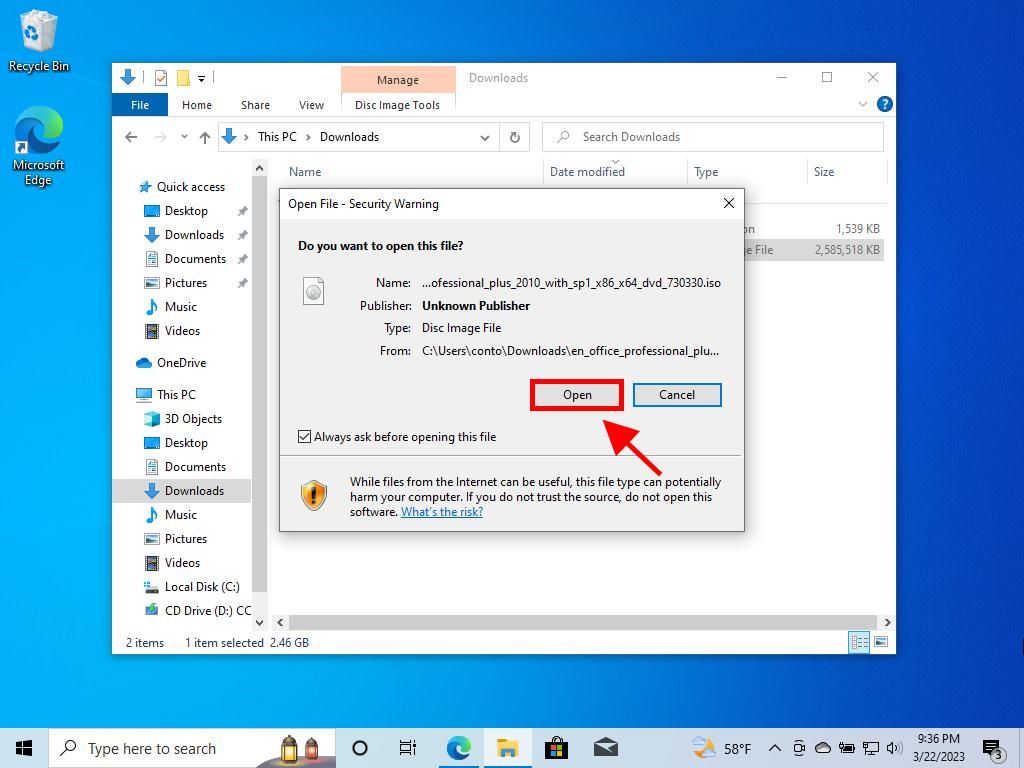
- After downloading the Office 2010 .iso file, find the file and double-click to open it. In the pop-up, select Open.
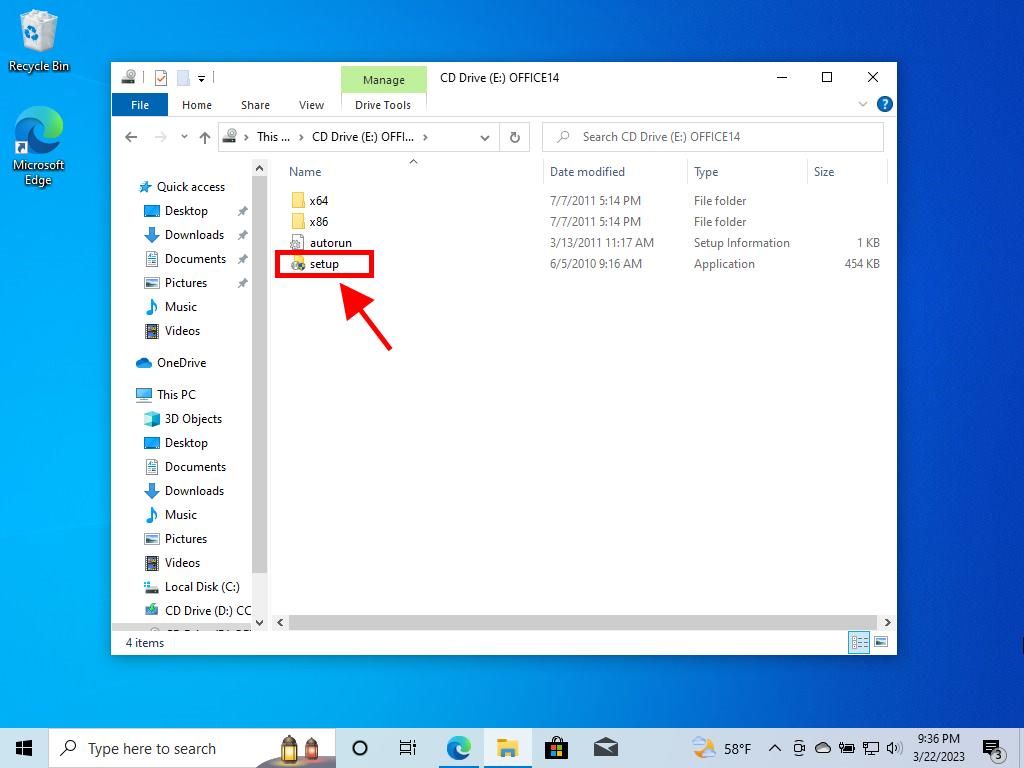
- An installation window will appear; double-click the Setup icon.
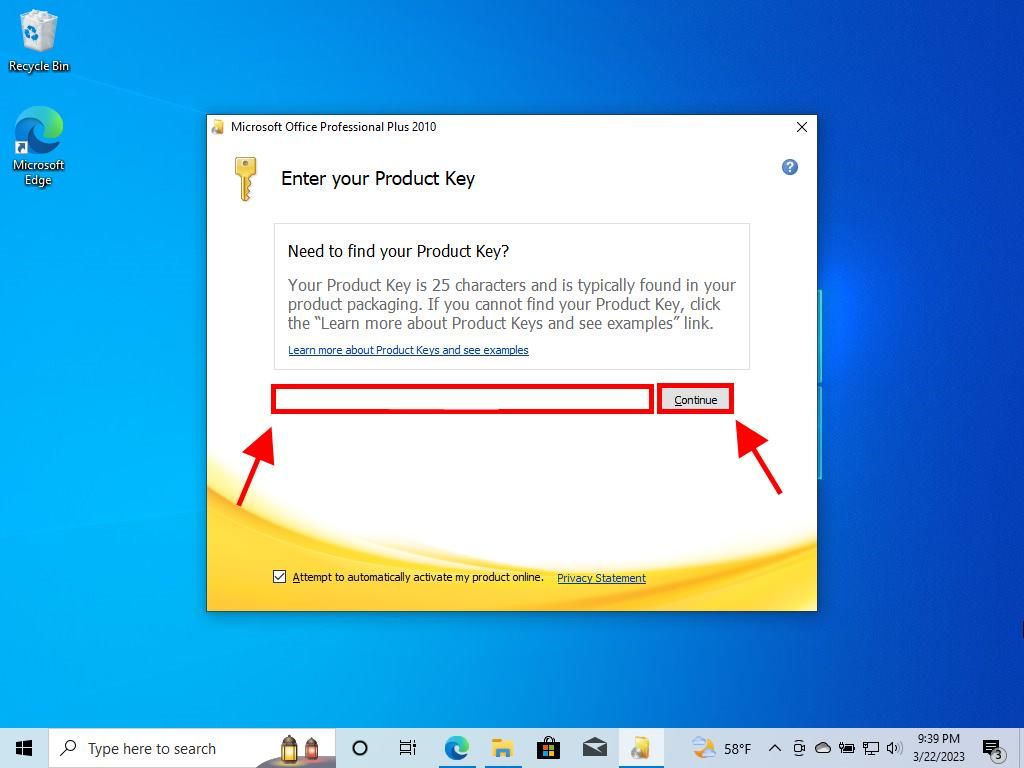
- Input your product key for Office and select Continue.
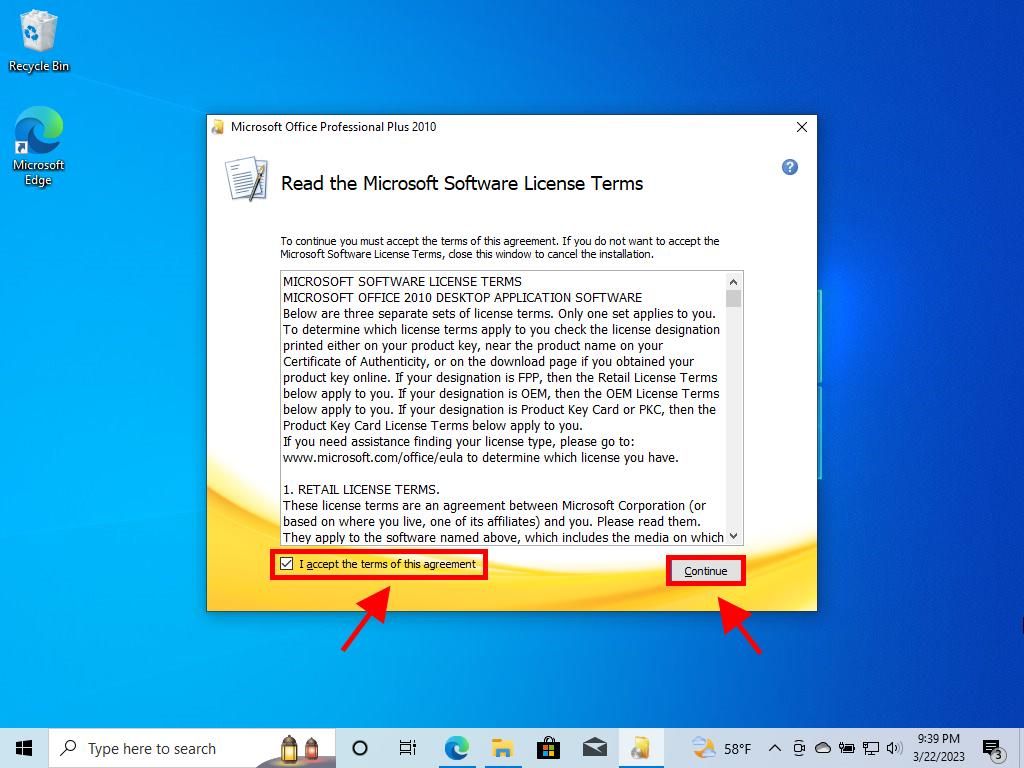
- Agree to the terms and conditions by checking the box and press Continue.
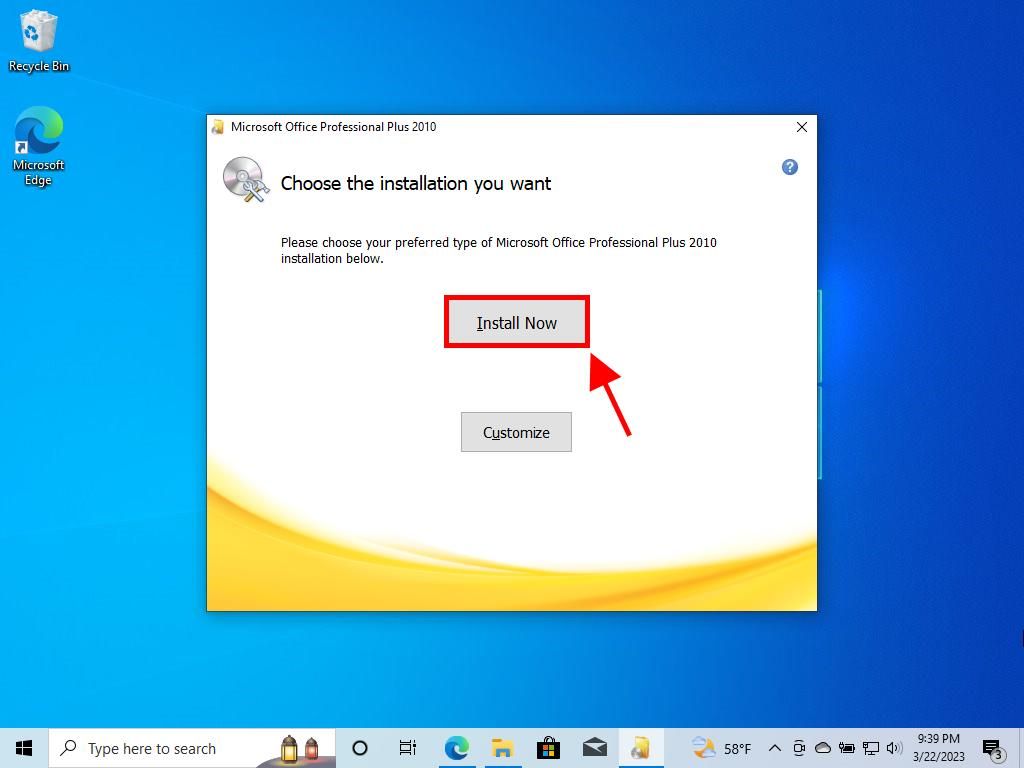
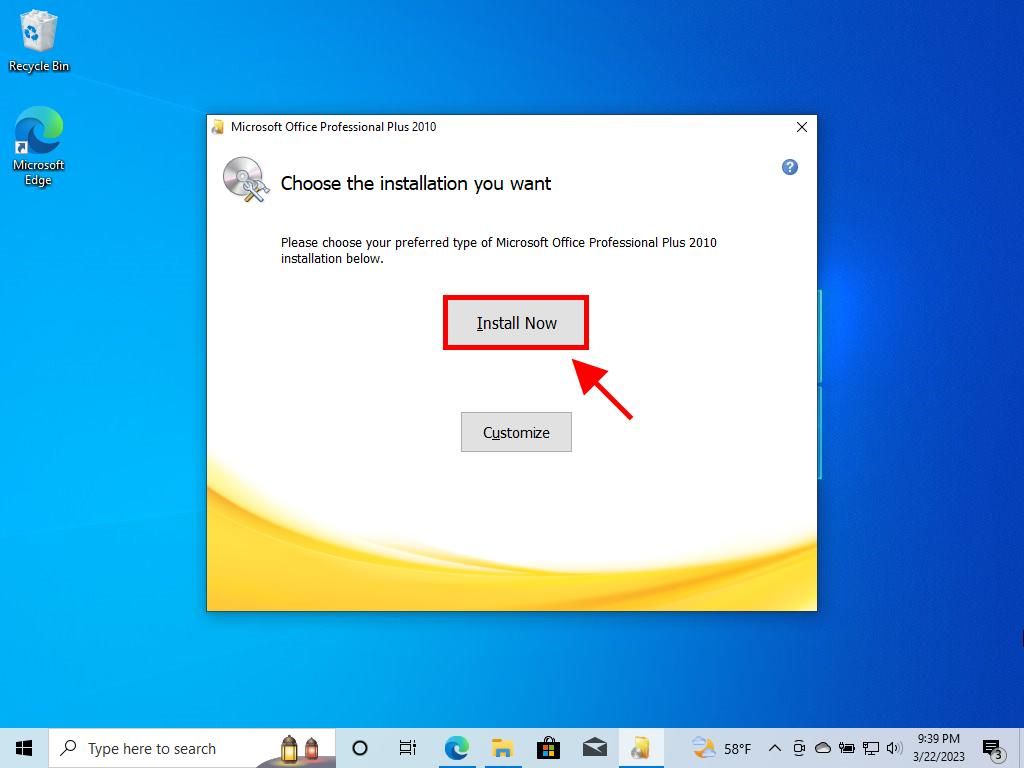
- Select Install now.
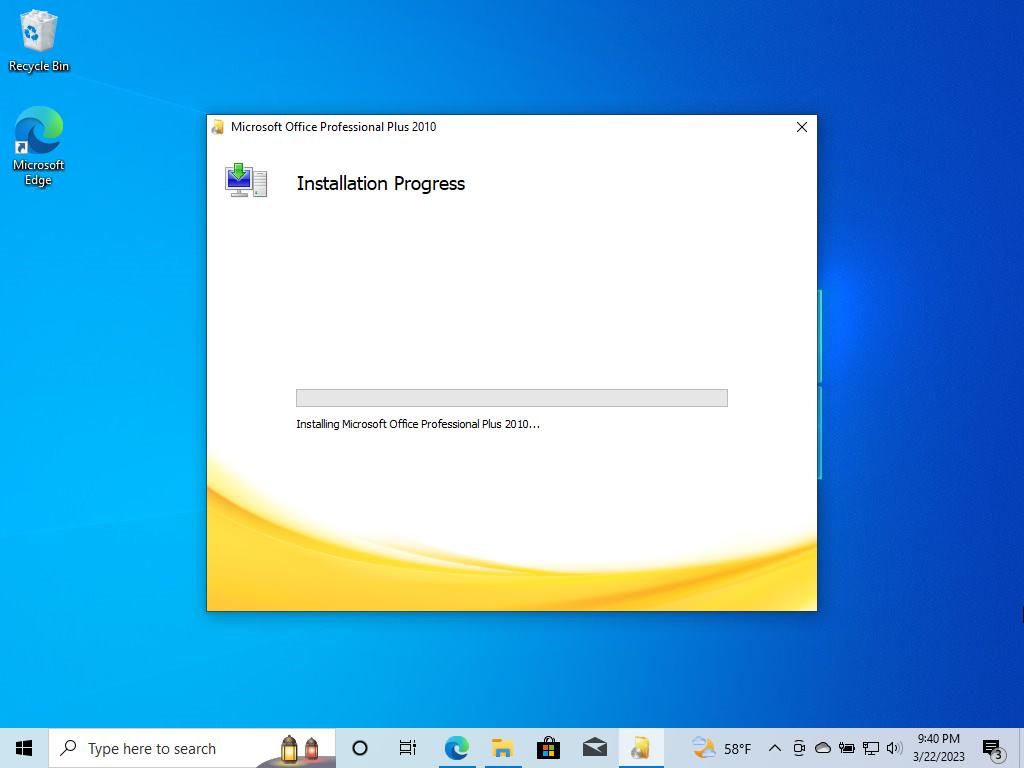
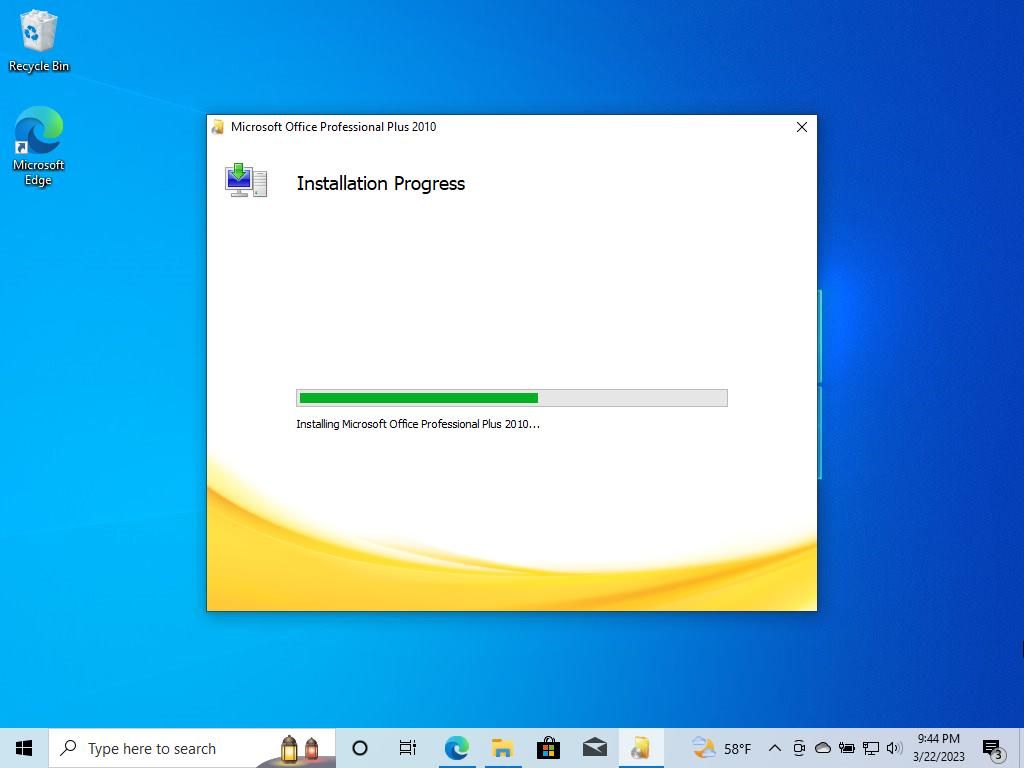
- Allow some time for the installation to complete.
- Finally, click Close.
- Restart your computer when prompted. After reboot, Office 2010 will be installed and ready for use.


Guide to Installing Office 2010 on Windows 7 and 8
Note: For installing and activating Office 2013 on Windows 7 and 8, ensure you have a file decompression tool like WinRAR, WinZip, or 7-Zip installed. Here, we'll use 7-Zip.
- Once the Office 2010 .iso file is obtained, right-click and choose 7-Zip, then select Extract here.
- Navigate to the bottom of the window and double-click the setup icon.
- Enter your product key and press Continue.
- Confirm acceptance of the terms by checking the box and clicking Continue.
- Choose Install now.
- Give it a few minutes to complete the installation process.
- Finally, select Close and your Office 2010 is fully installed.