Sign In / Sign Up
 Orders
 Product Keys
 Downloads

Guide to Installing Windows 10 on Your PC
Note: Installation steps may differ based on your computer model.
Begin by inserting the USB to initiate the setup:
- Power on your computer and, as the manufacturer's emblem shows up, search for the key to access the BOOT menu, typically F2, F10, F11, F12, or Del.
- Modify the boot sequence to prioritize the USB drive.
- Upon boot, a message prompting Press any key to continue from CD or DVD will appear.
- Select your desired language, time and currency format, and input method in the setup, then click Next.
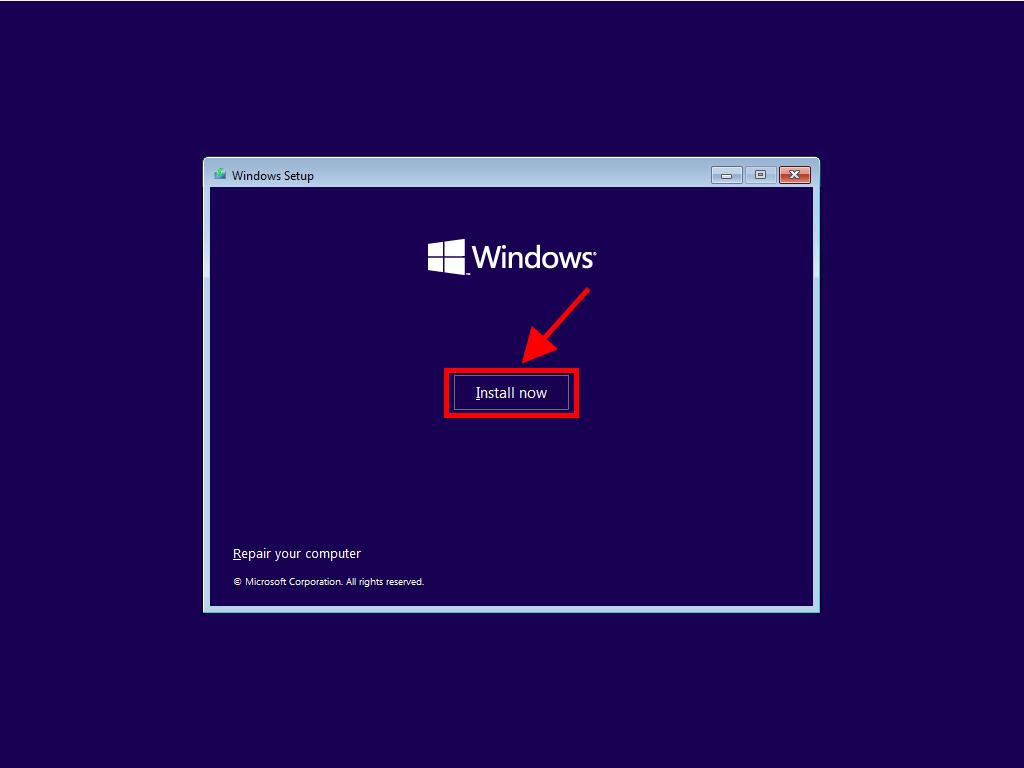
- Press the Install now button.
- Input your Windows 10 product key if required.
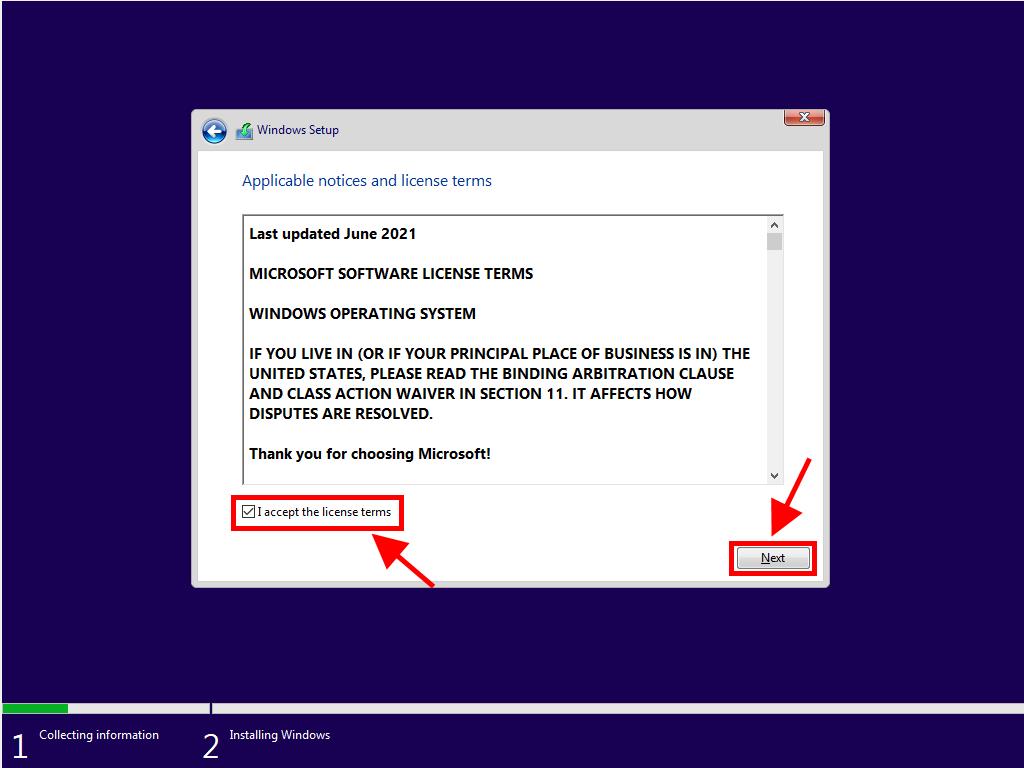
- Agree to the Windows 10 license terms and press Next.
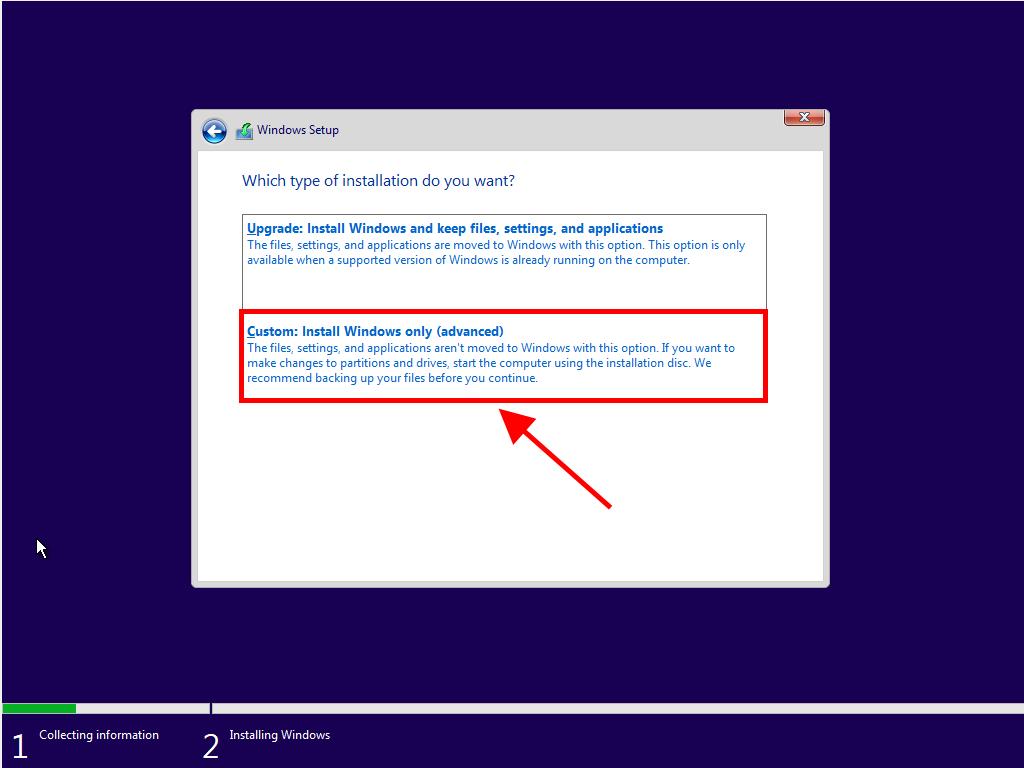
- Select Custom: Install Windows only (advanced) on the subsequent screen.
- Choose the drive for installing Windows 10. Look at the Total Size and pick the drive with the most free space.
- Press Next, and the installation of Windows on your computer will commence.
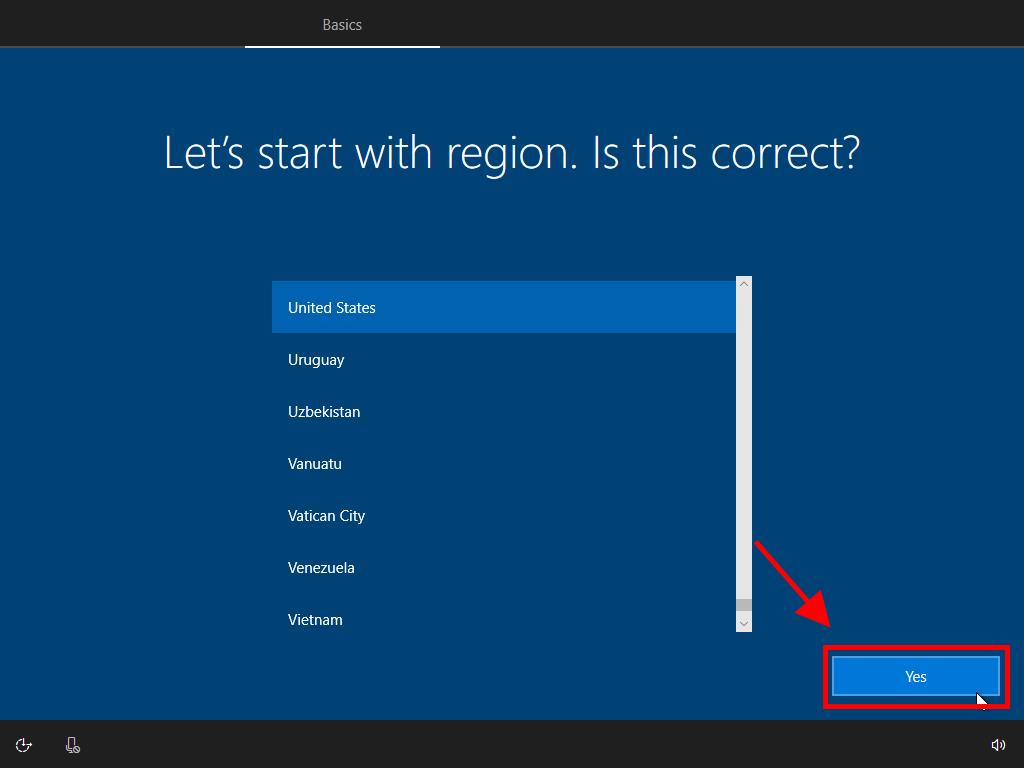
- Upon completion, the setup will prompt you to select your region or country. Find yours, select it, and confirm with Yes.
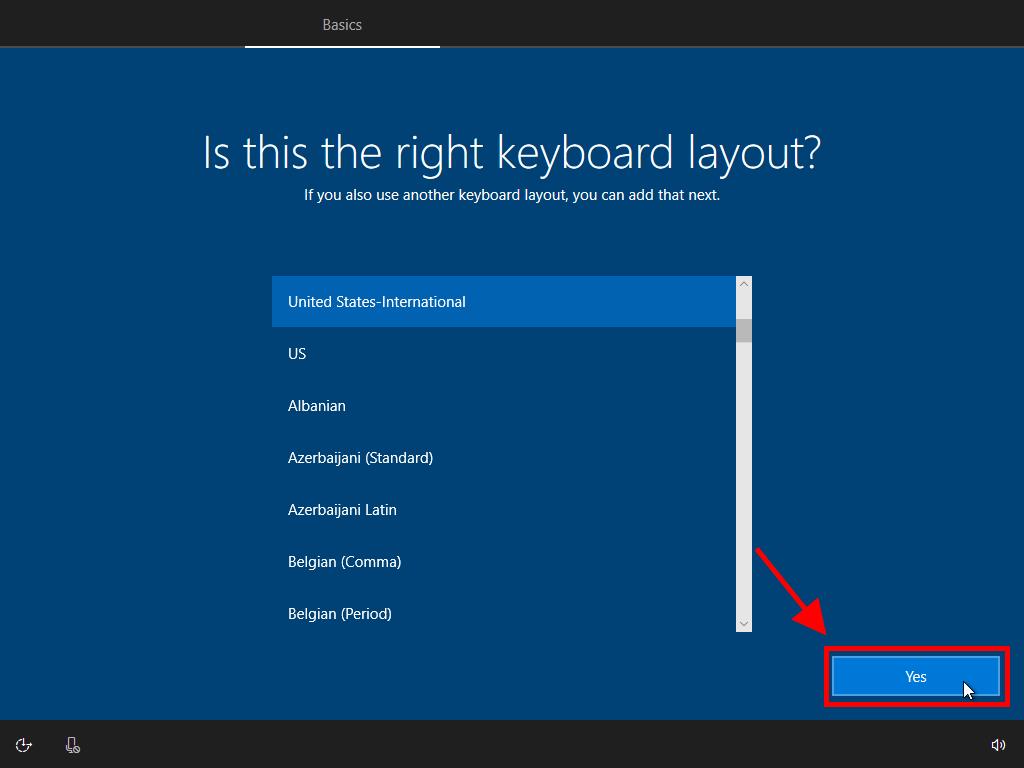
- Select the keyboard layout you prefer and confirm with Yes.
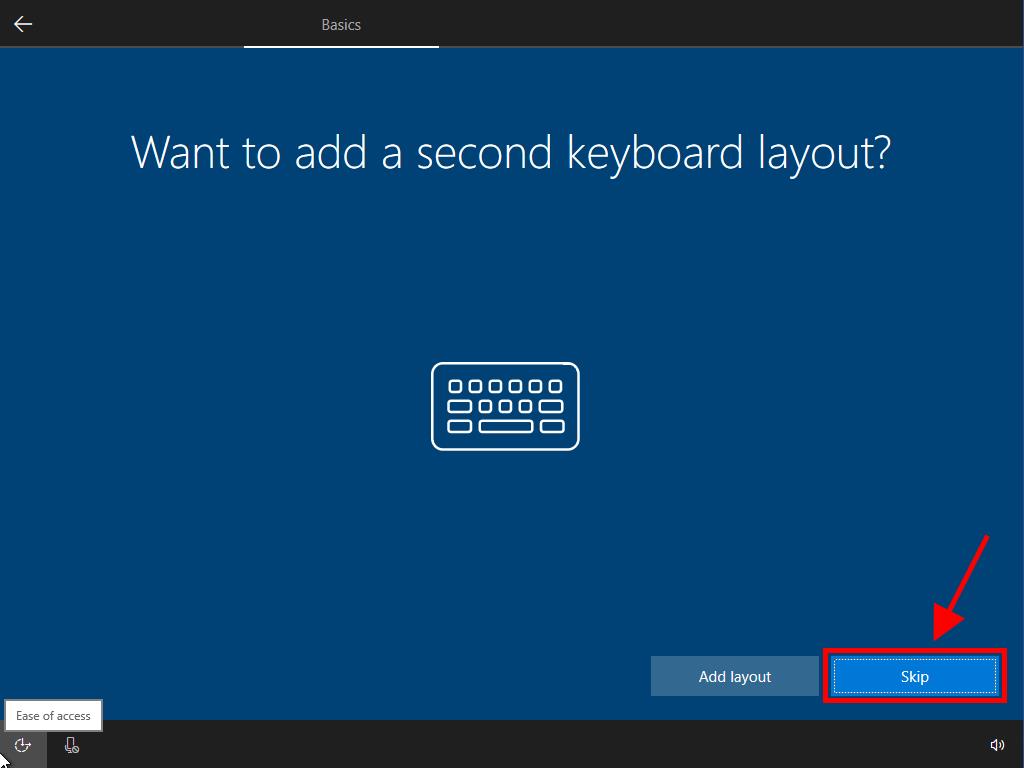
- If you opt not to add a second keyboard layout, select Skip.
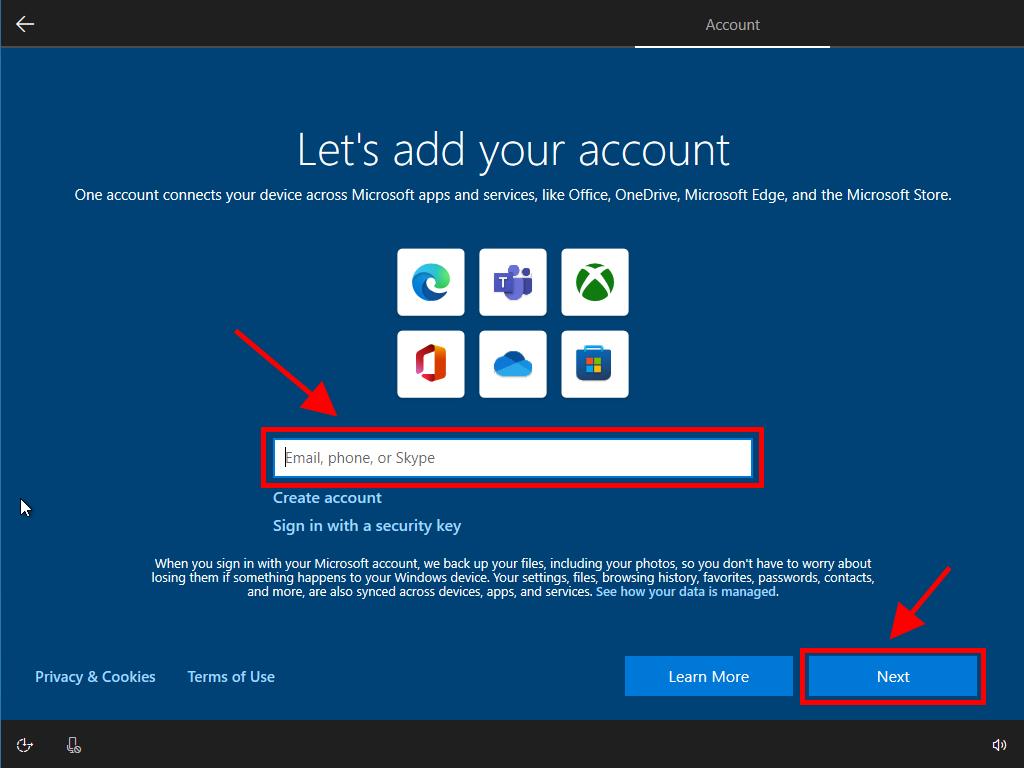
- Log in using your Microsoft account by providing your email and password then click Next.
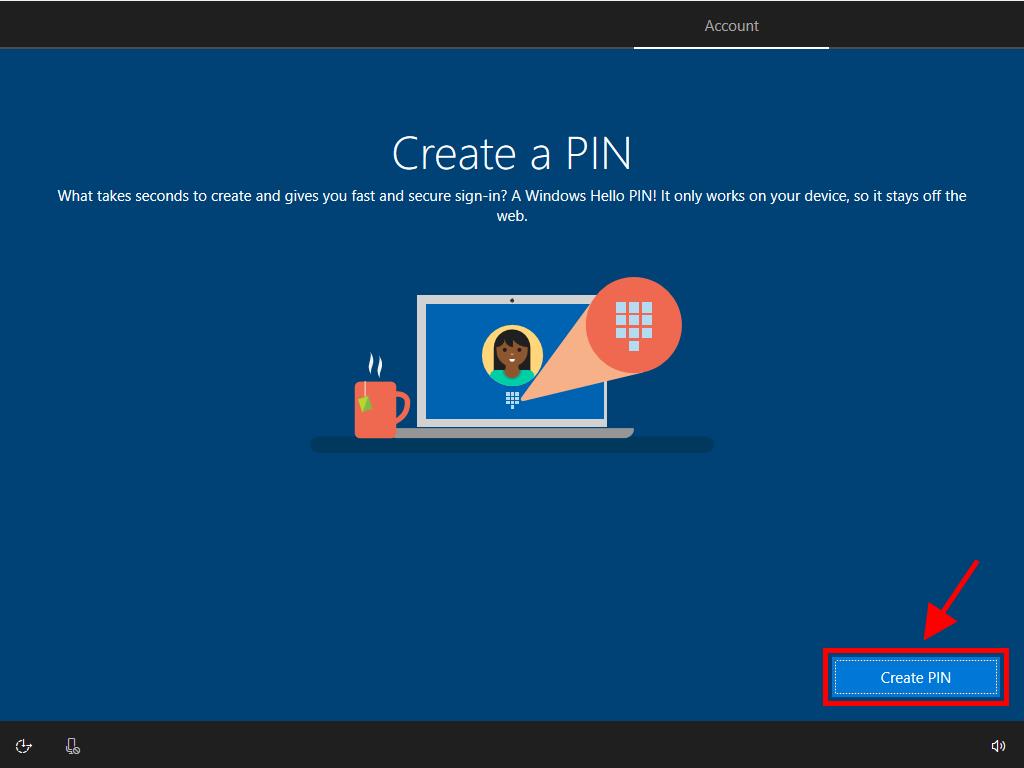
- Create a secure and memorable PIN by entering your chosen password and proceed with Next.
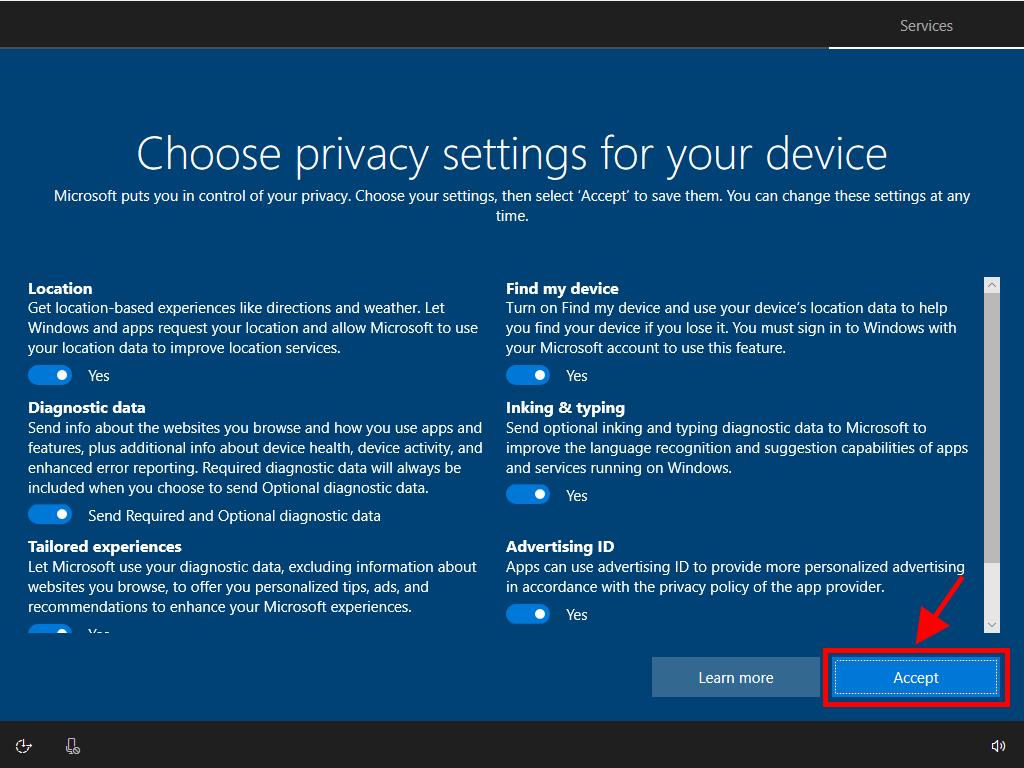
- For privacy settings, click on More information to understand your choices, then select Accept.
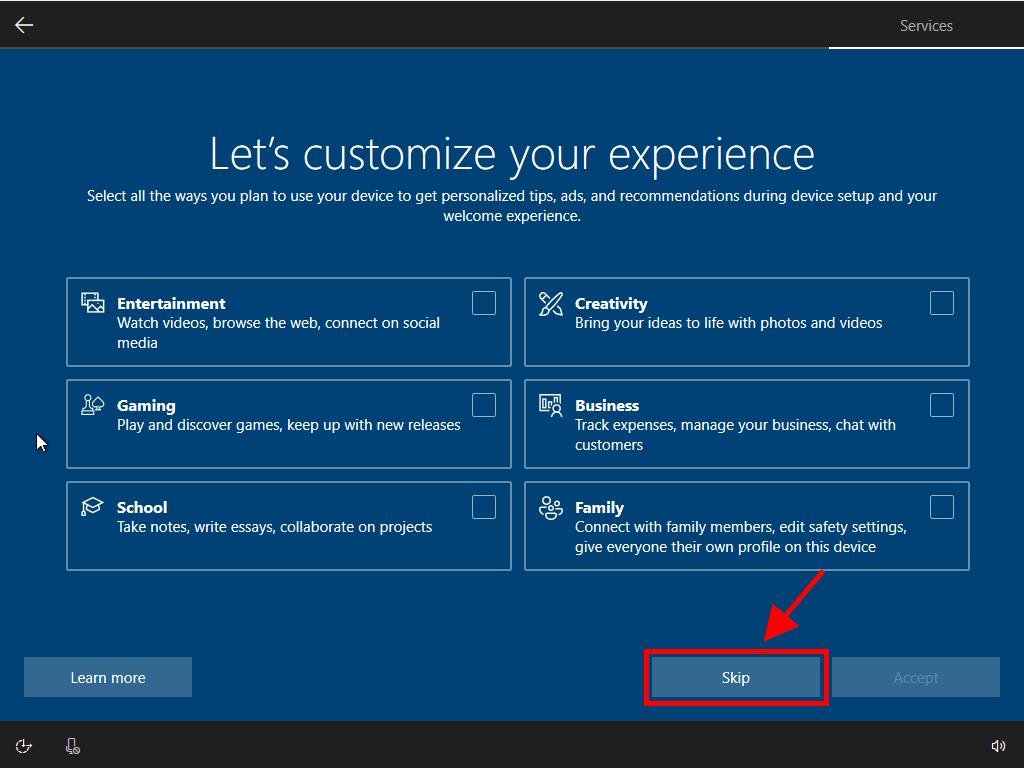
- In the customise your experience option, you can select the activities you'll carry out with your PC to receive ads and suggestions, or if you prefer, click Skip.
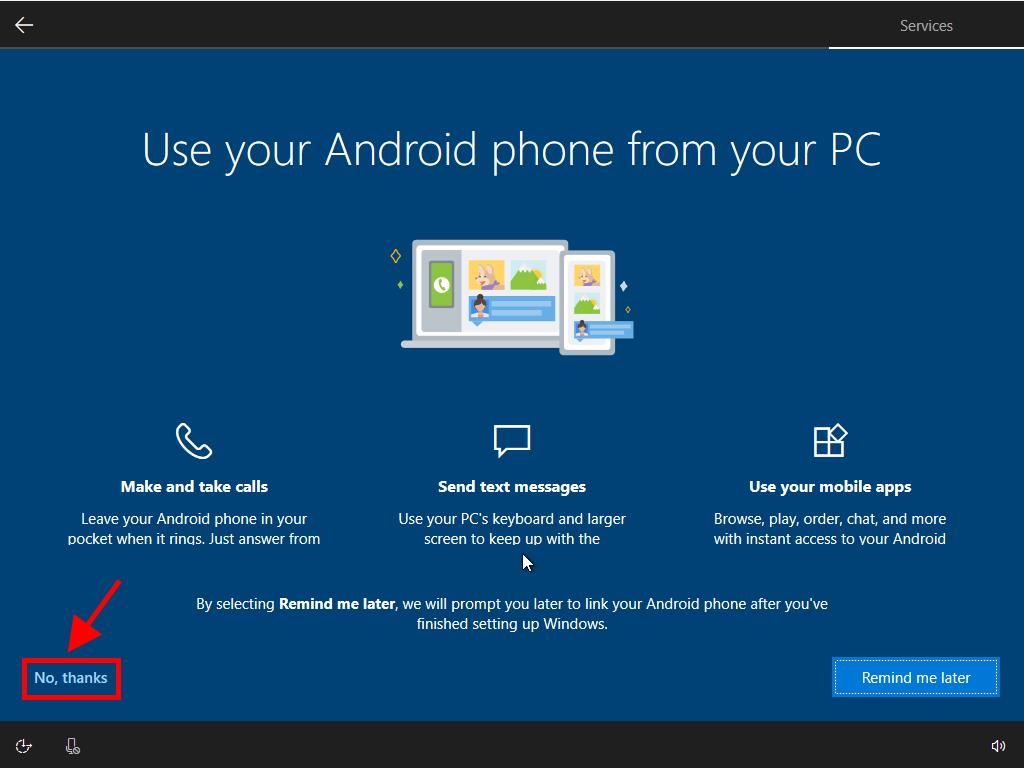
- In the Link your Android phone option, click No thanks.
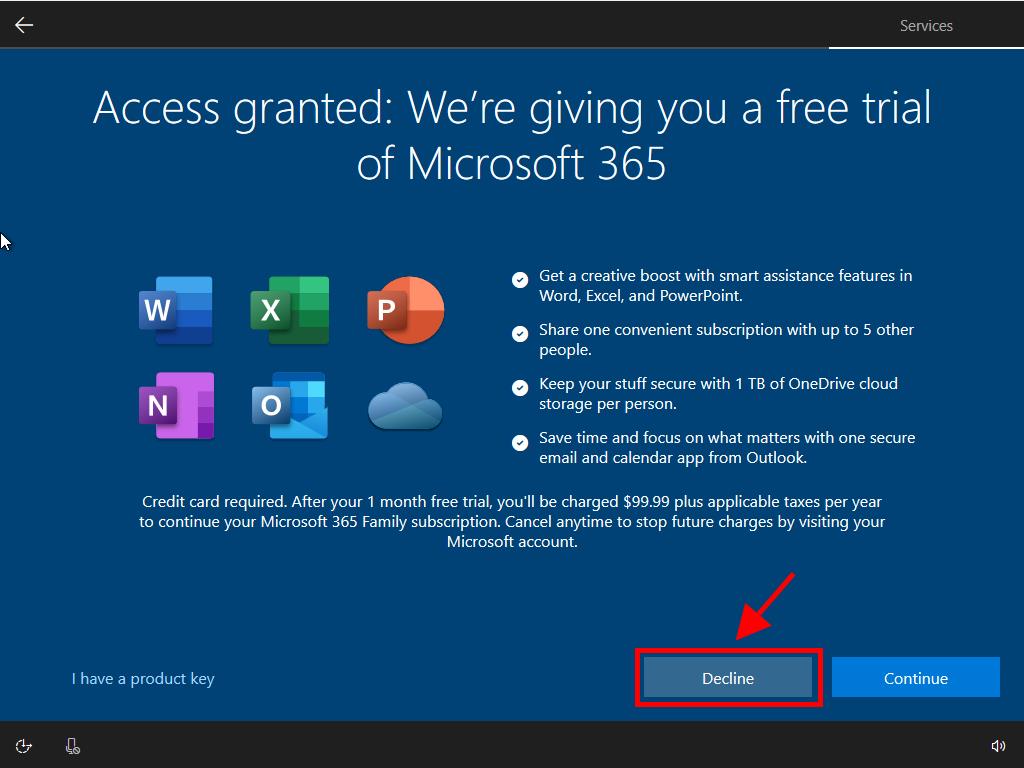
- Opt out of the free trial of Office 365 by selecting Decline.
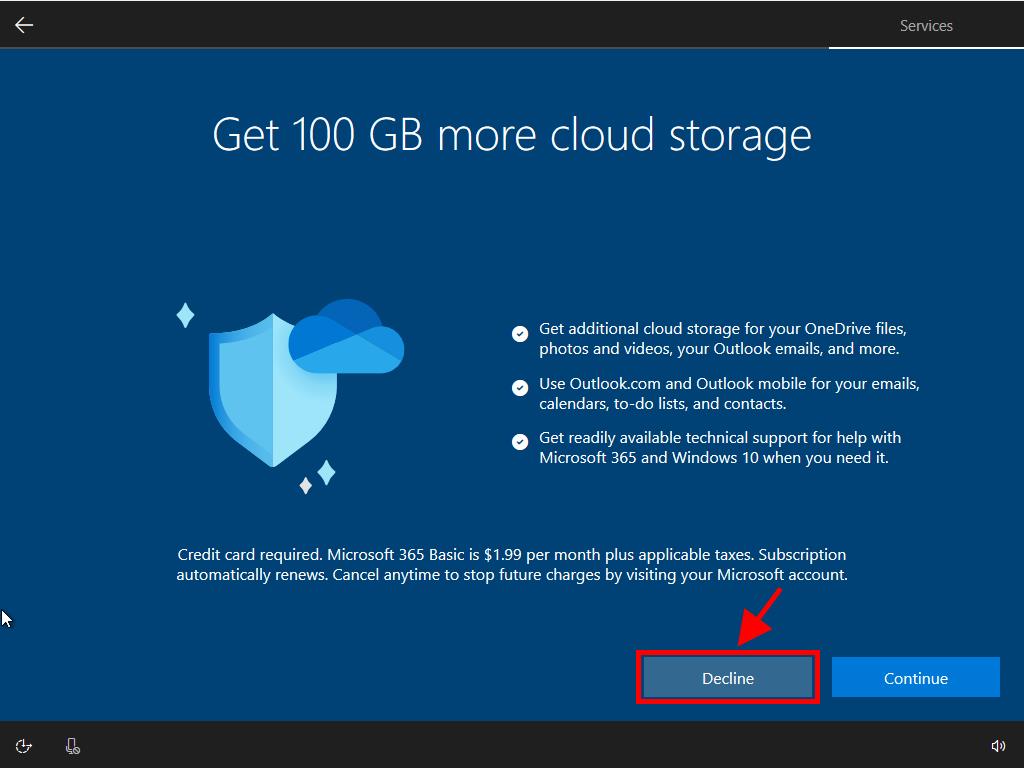
- Choose to decline the offer for 100 GB of OneDrive storage as well by selecting Decline.
- If you're not interested in subscribing to Game Pass, simply click No thanks.
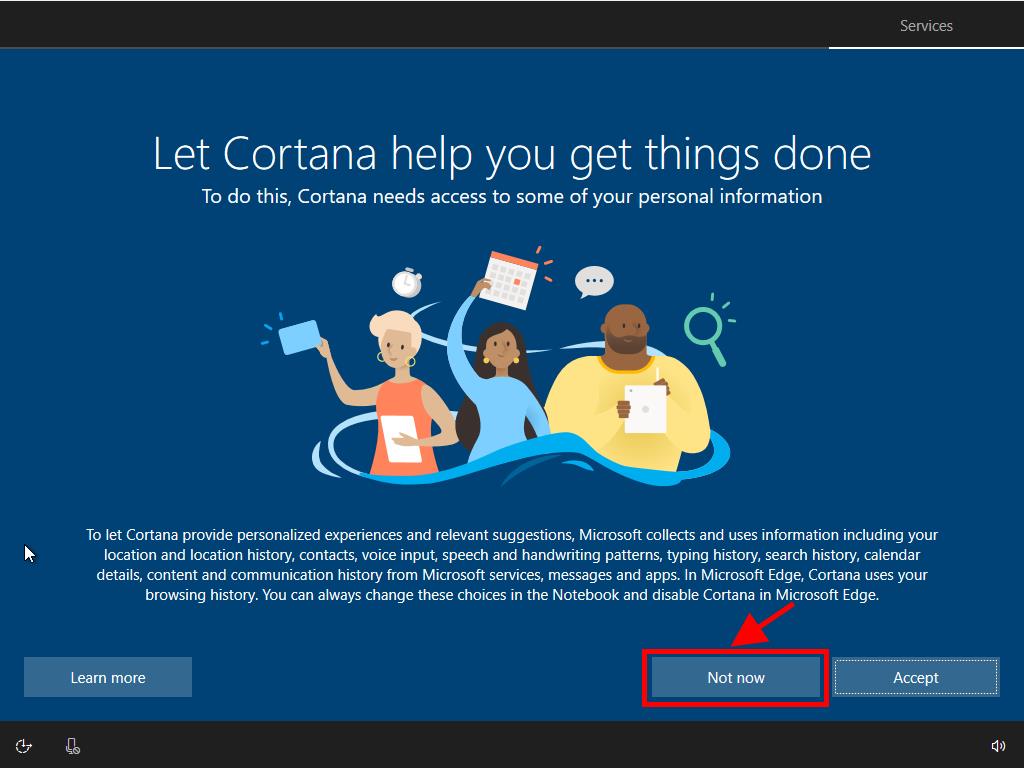
- If you prefer not to use Cortana for setup, select Not now.
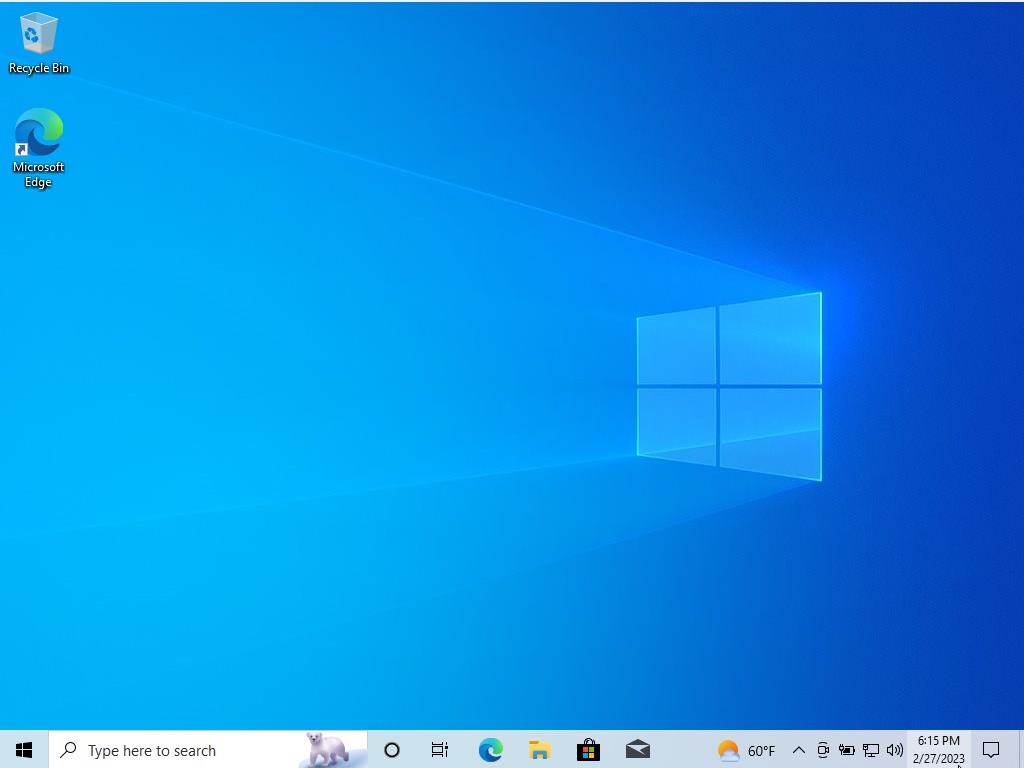
- Shortly after, you'll view your desktop, signifying the completion of the Windows 10 installation process.
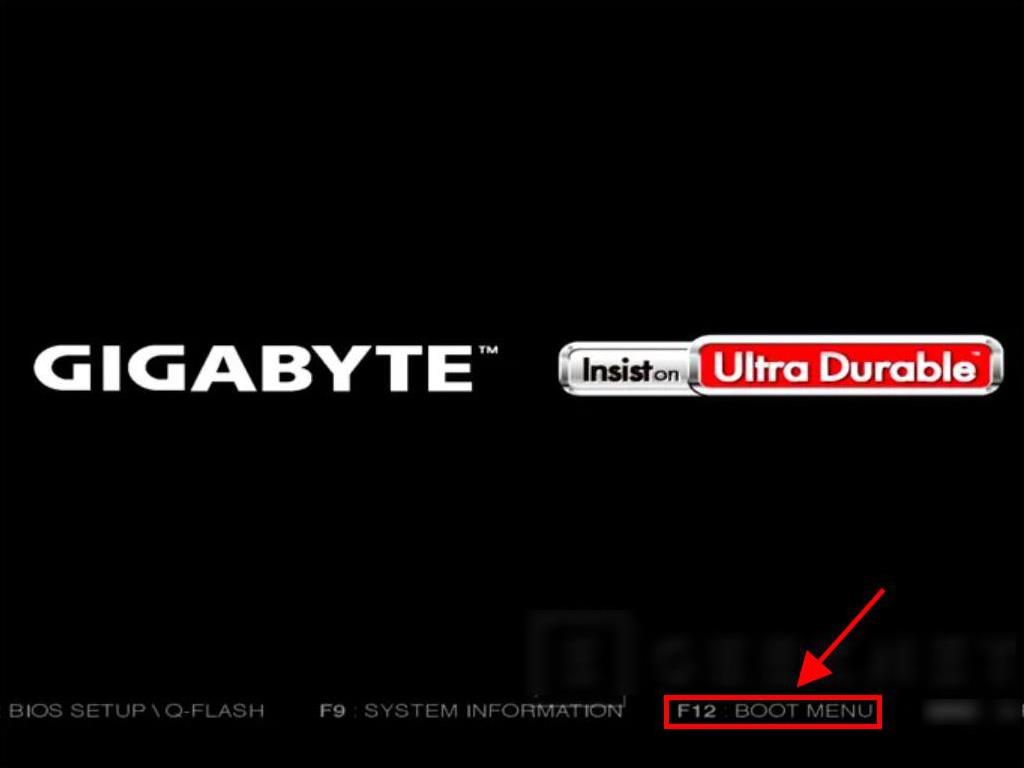
Note: The specific key to enter the setup might vary by computer.

Ensure that the USB is set as the primary boot device.

Determine the appropriate drive by comparing the space available in GB.