How do I create installation media for Windows Server 2012 R2?
After downloading the installation file (Windows Server 2012 R2 .iso), you'll need to create a bootable USB drive to proceed with the installation.
Note: Ensure you have a USB device with at least 16 GB of space.
The recommended application for this task is:
Rufus
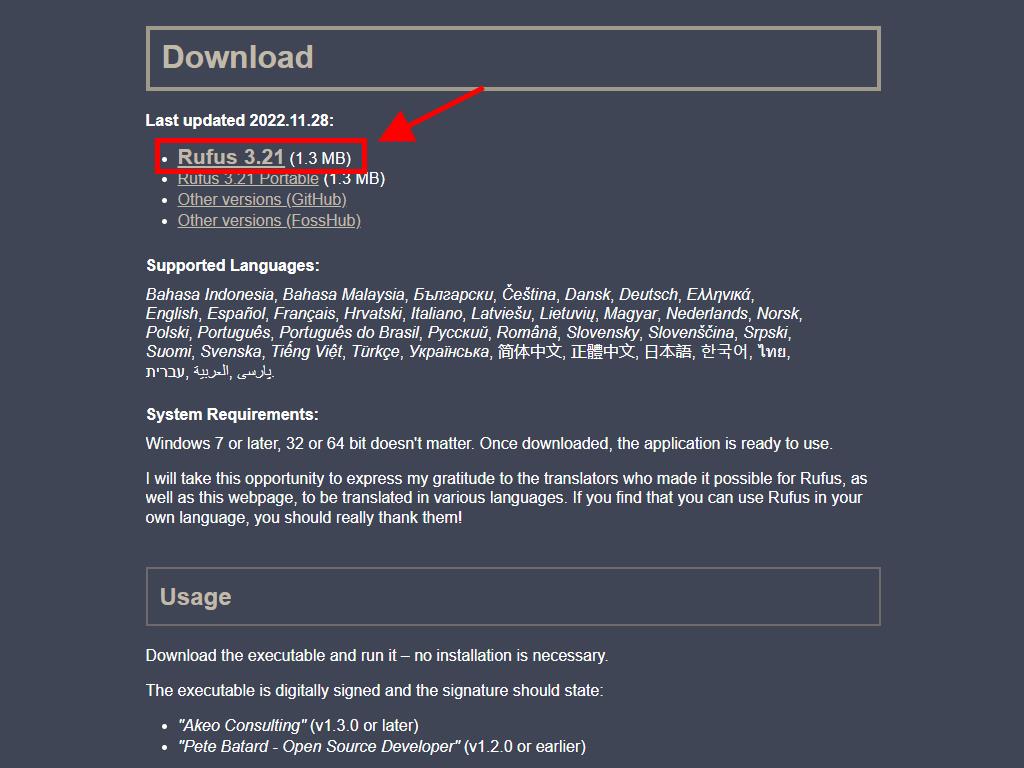
- Download it for free from this link.
- Scroll down and get the latest version of Rufus from the Download section.
- Plug in your USB and launch the Rufus application.
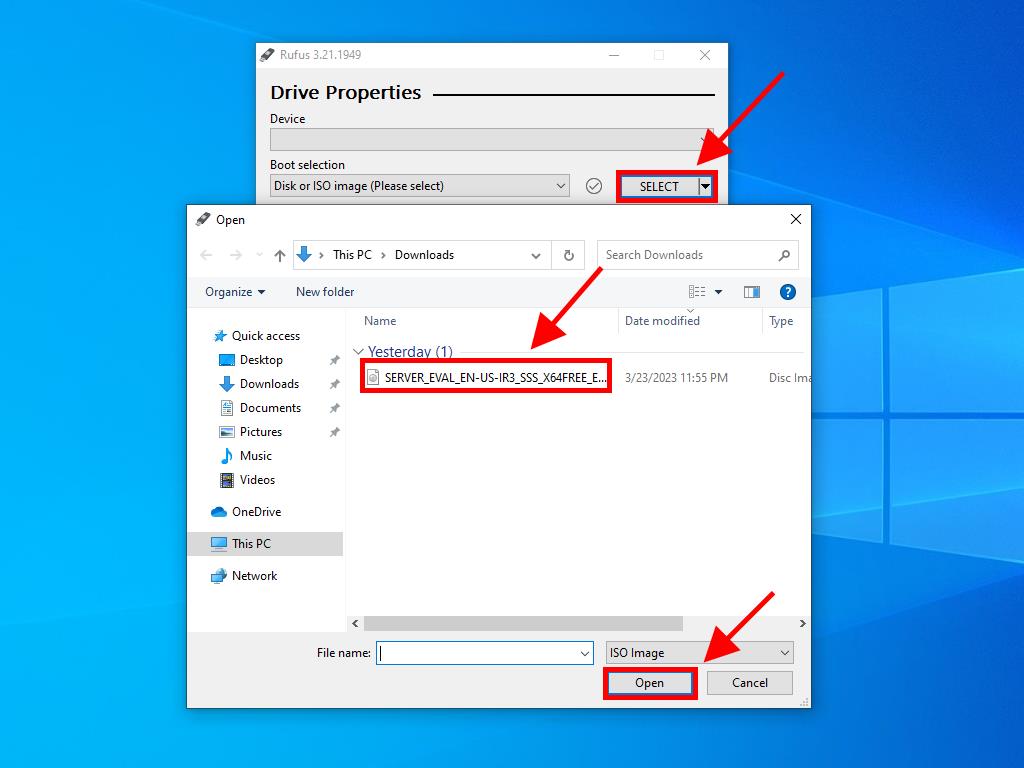
- Click Select and choose the Windows Server 2012 R2 .iso file you downloaded.
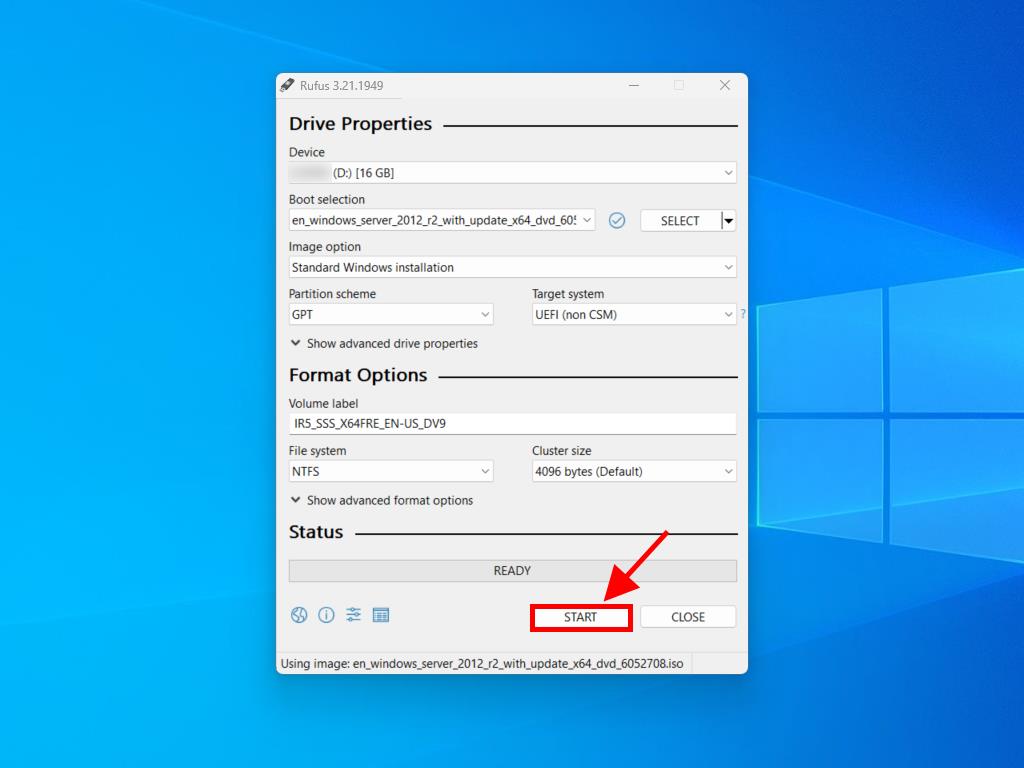
- Next, click Start and wait as the program creates the bootable USB drive.
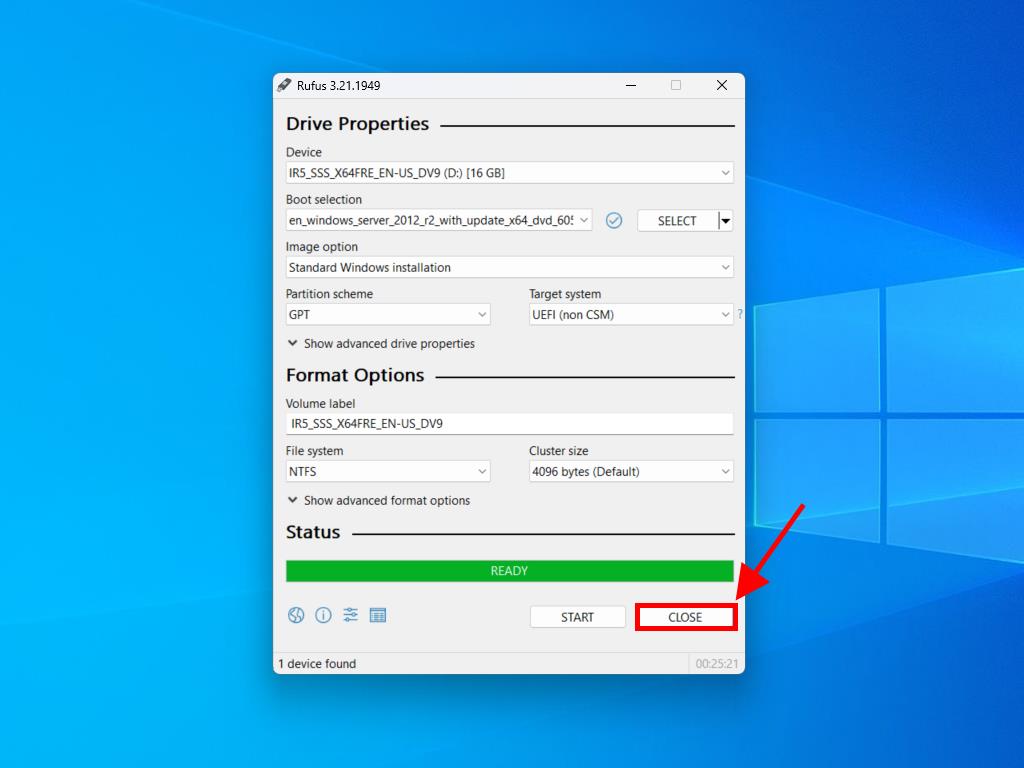
- Once the process is finished (indicated by a Ready status), click Close and your bootable USB drive will be prepared for installing Windows Server 2012 R2.


Note: A window titled Customise Windows Installation will appear. Select the Disable Data Collection option and allow the program to complete the bootable USB drive creation.


 Sign In / Sign Up
 Orders
 Product Keys
 Downloads
