Sign In / Sign Up
 Orders
 Product Keys
 Downloads

Installing Windows 11: A Comprehensive Guide
There are two primary methods to perform the installation:
Upgrading from Windows 10
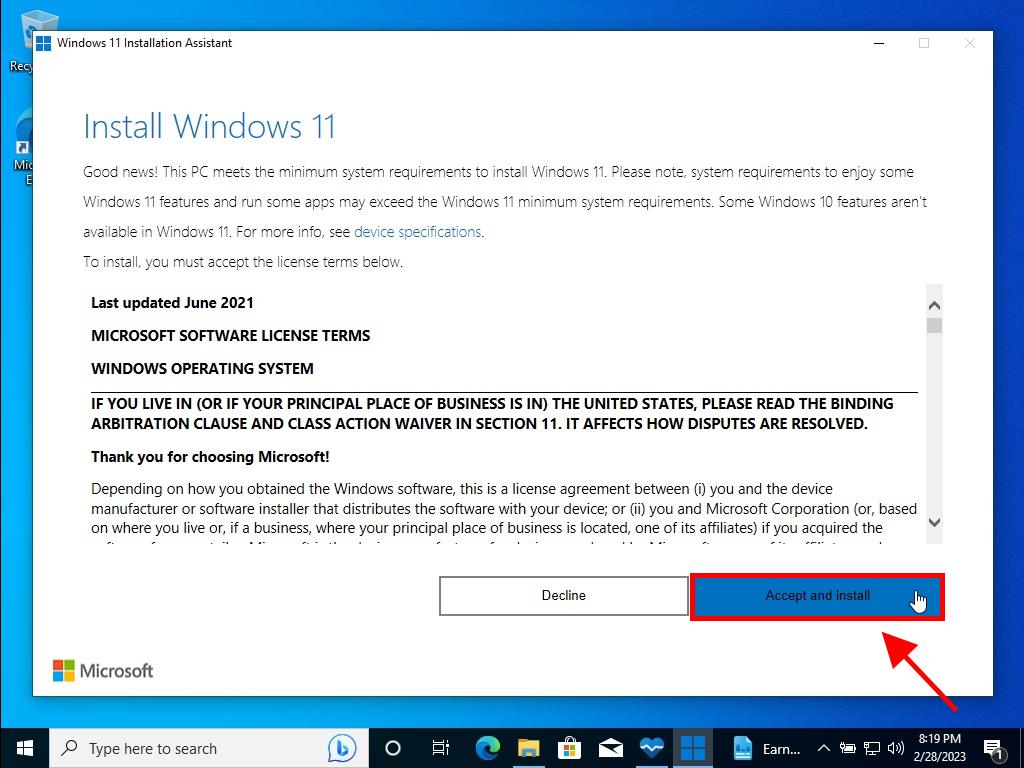
- We suggest utilizing the Microsoft tool known as Windows 11 Installation Assistant, available for free download here.
- After downloading the assistant, you might need to install PC Health Check depending on the prompt.
- Agree to the usage terms and conditions.
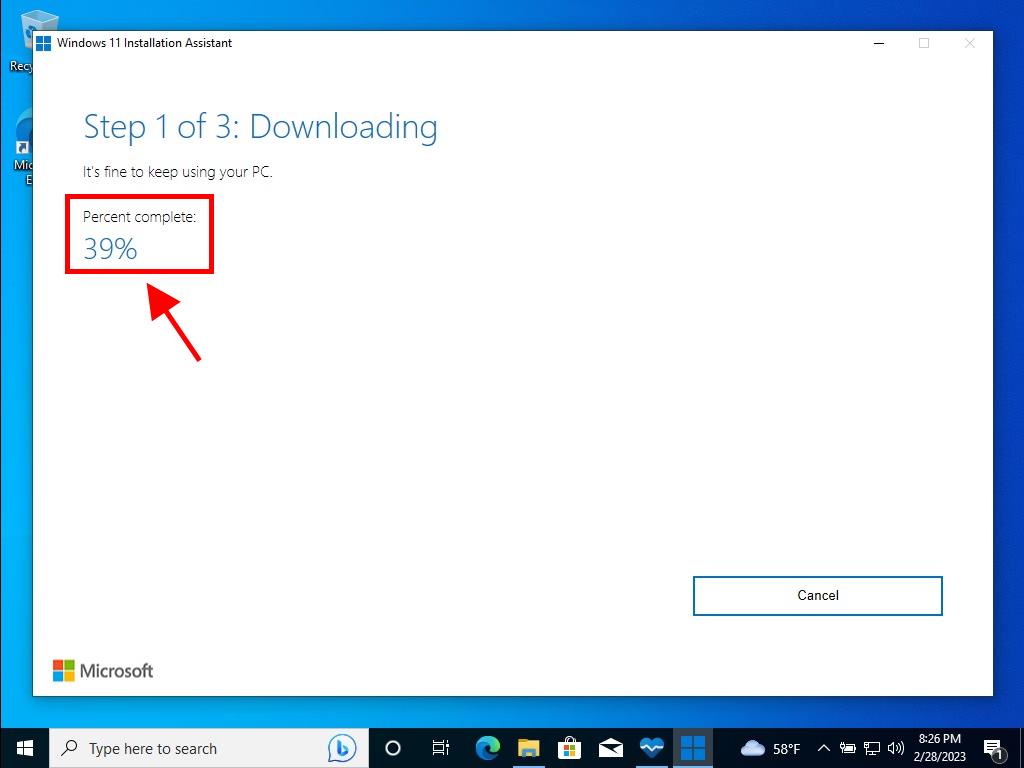
- Follow this by the automatic initiation of the download and installation process for Windows.
- Post-download, you can opt to restart your computer immediately or within 30 minutes.
- Restart your system, and for detailed setup instructions, refer to Installing Windows 11 from Scratch below.
Installing Windows 11 from Scratch
Note: Installation steps can vary based on the computer.
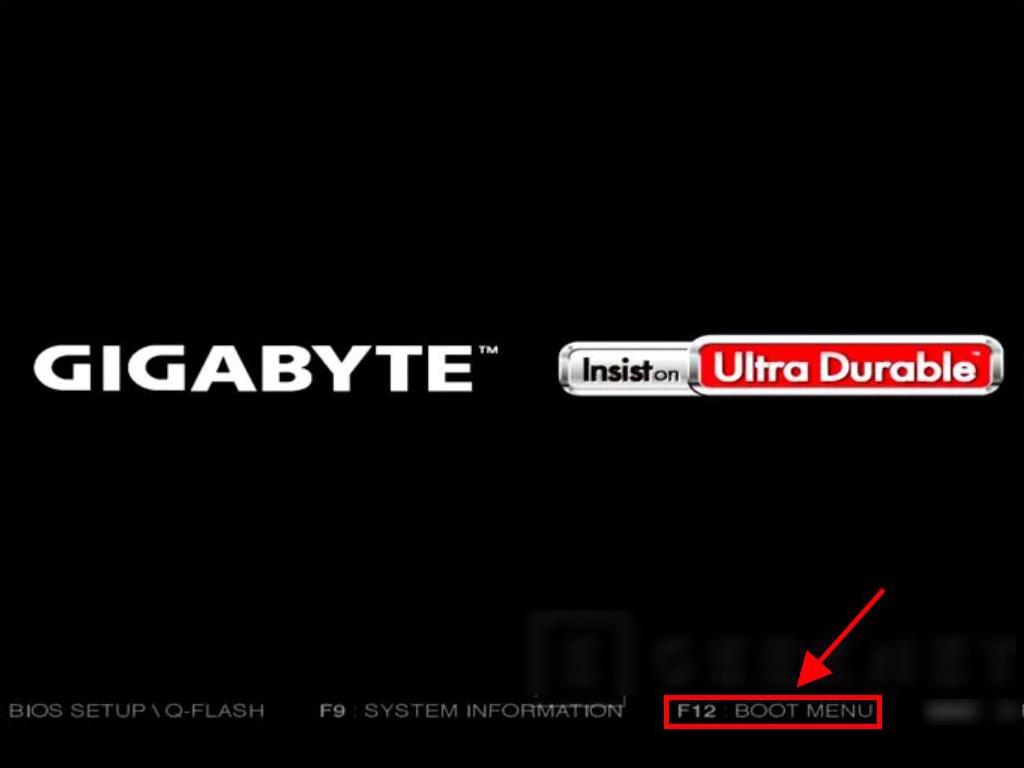
Initiate by connecting the USB and following these steps:
- Restart your PC and, upon seeing the manufacturer’s logo, press the BOOT menu key, usually F2, F10, F11, F12, or Del, to access the menu and modify the boot sequence to USB.
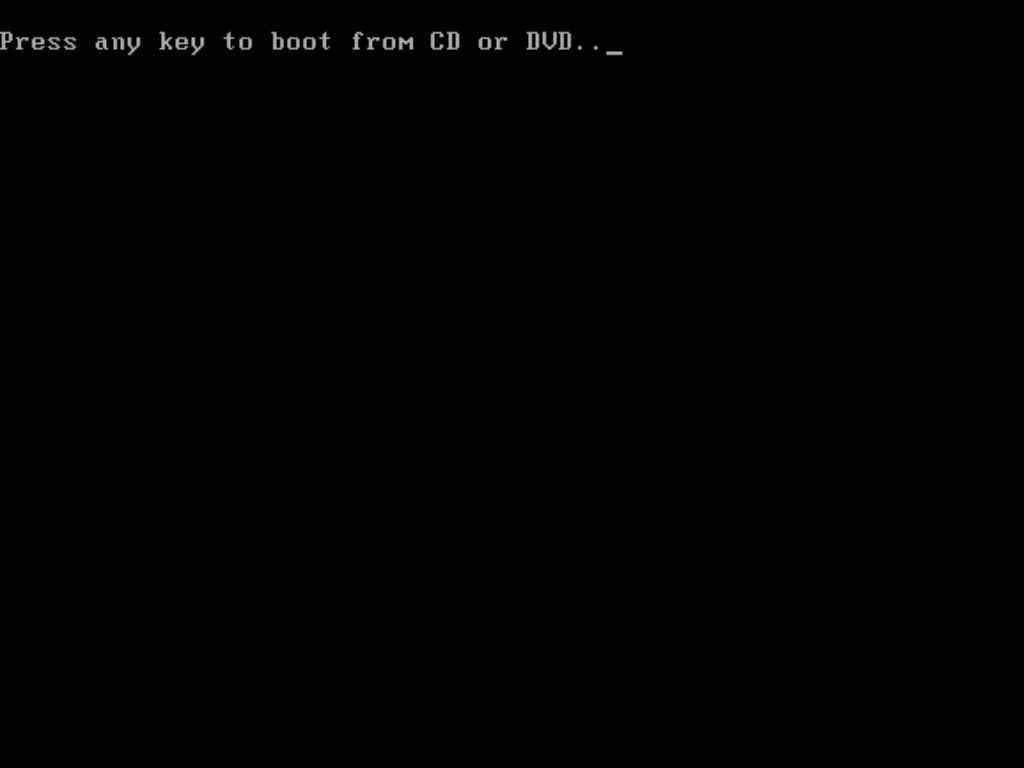
- After the restart, a screen will display Press any key to continue from CD or DVD.
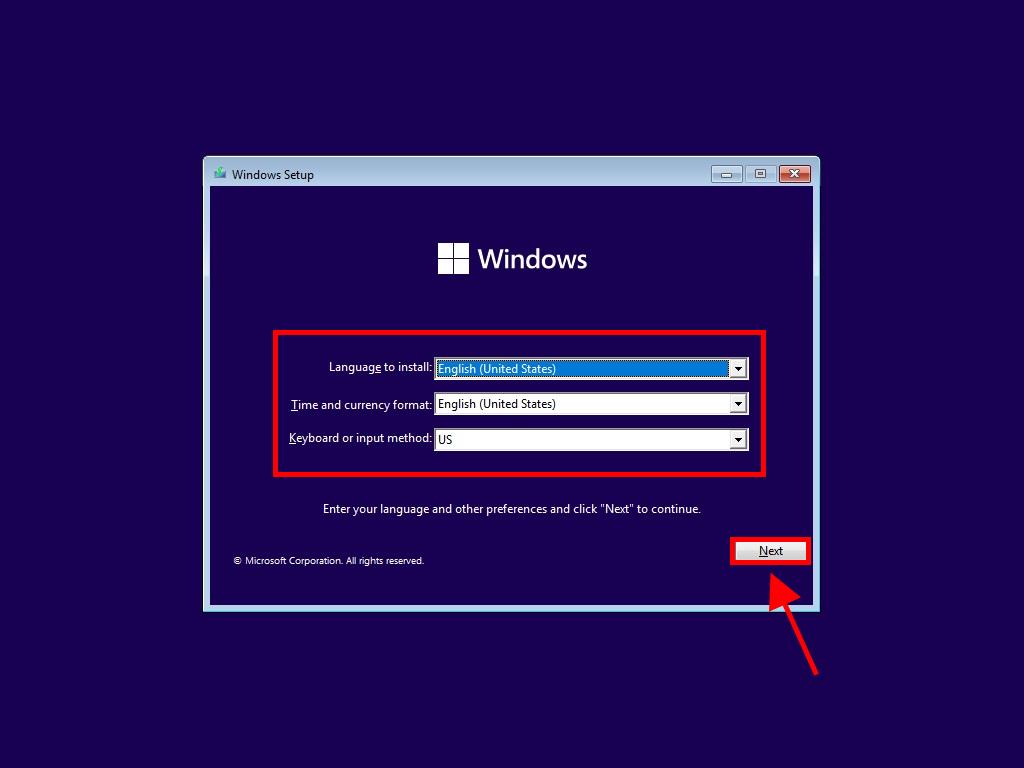
- Select your language, time, currency, and keyboard input at the setup program, then click Next.
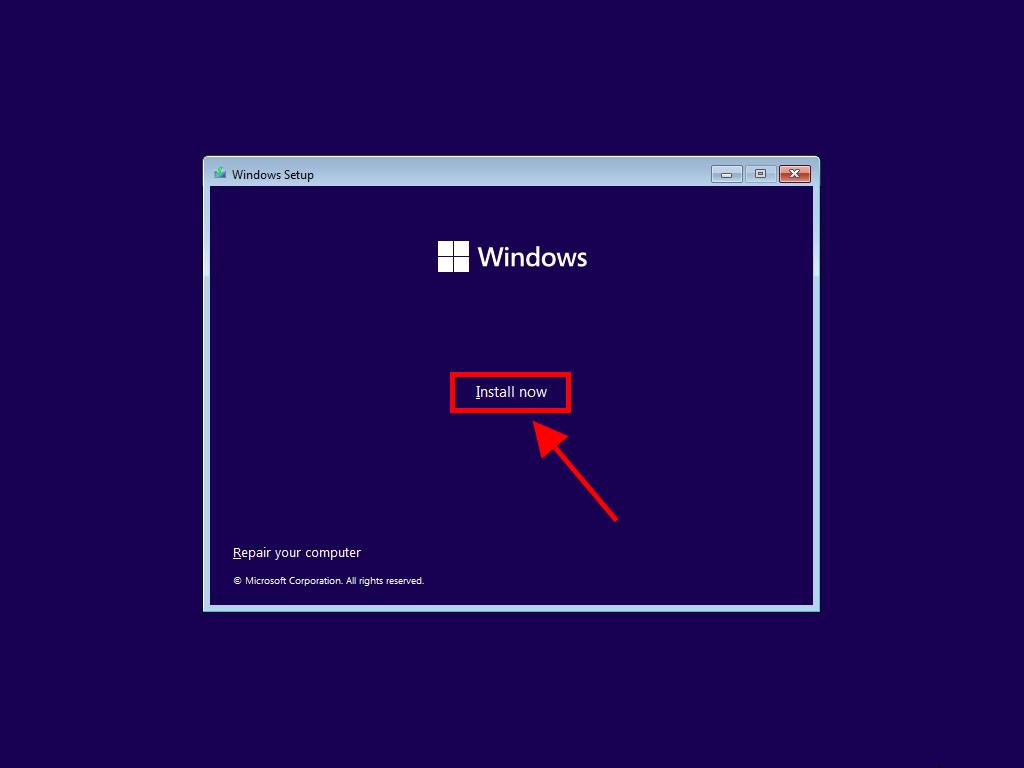
- Proceed to click the Install now button.
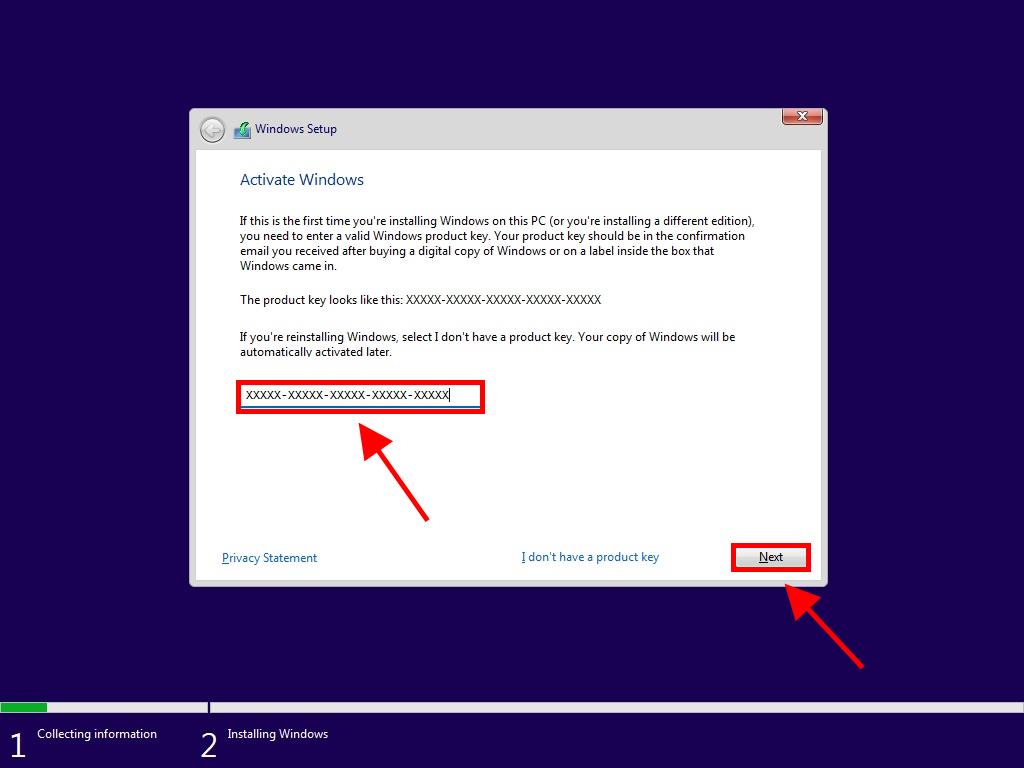
- Enter your Windows 11 product key and select Next.
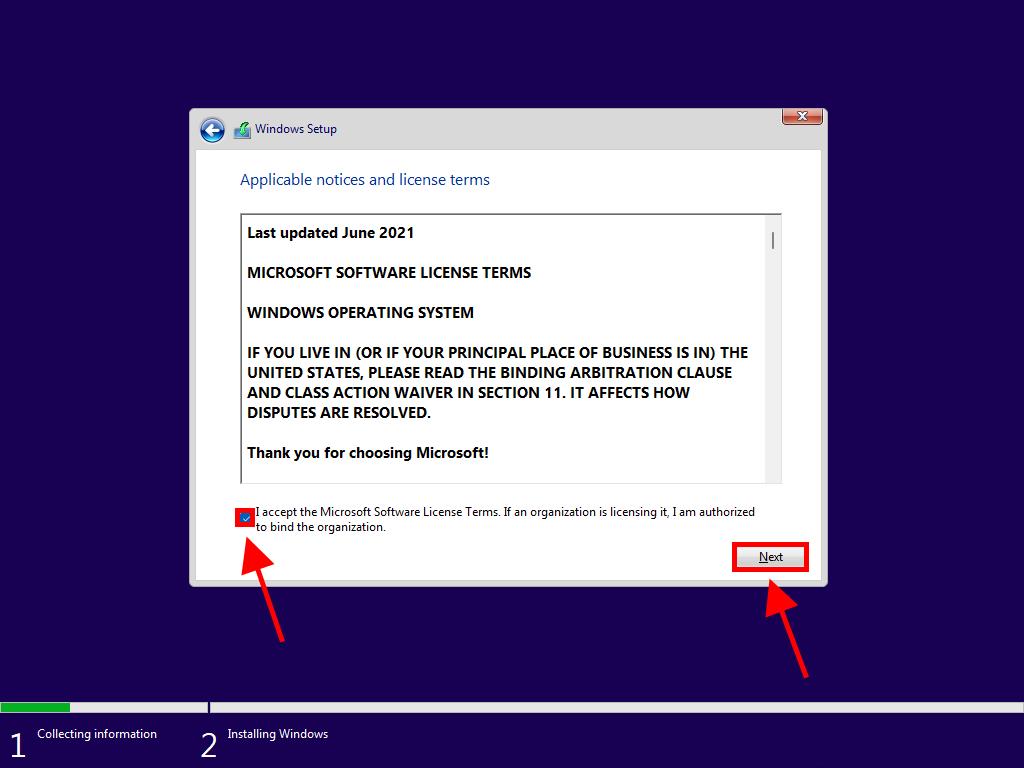
- Accept the license terms for Windows 11 by checking the appropriate box and click on Next.
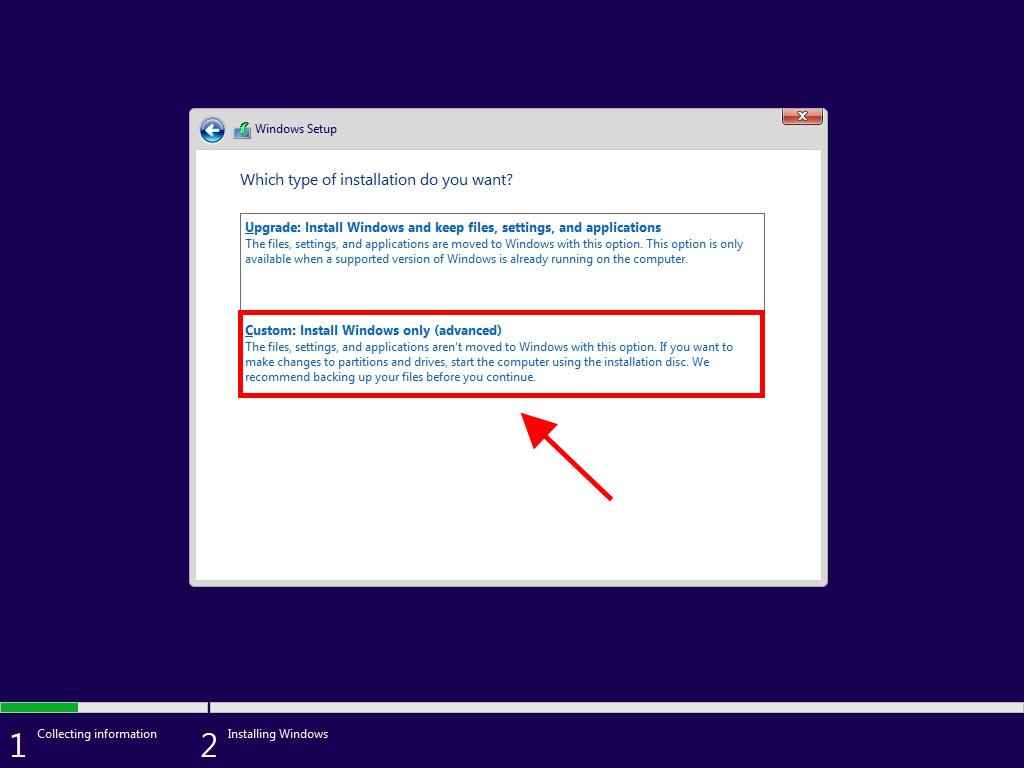
- On the subsequent screen, select Custom: Install Windows only (advanced).
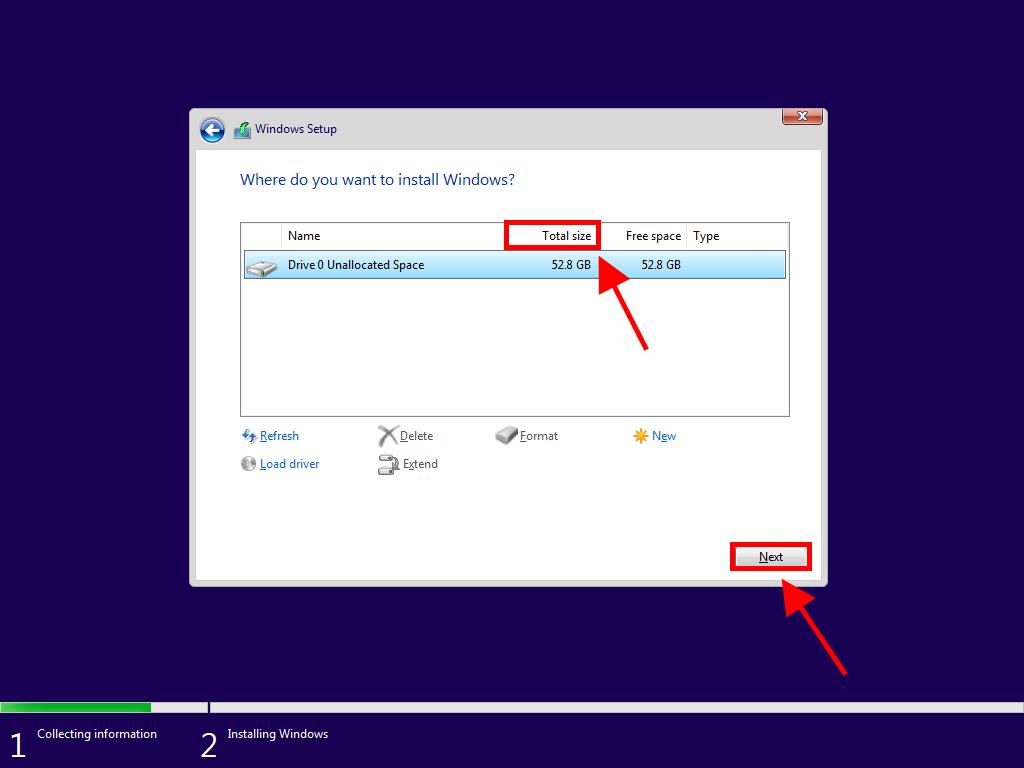
- Select the drive where you wish to install Windows 11 by examining the Total size column and opting for the drive with the most available space in GB.
- Windows installation on your PC will commence.
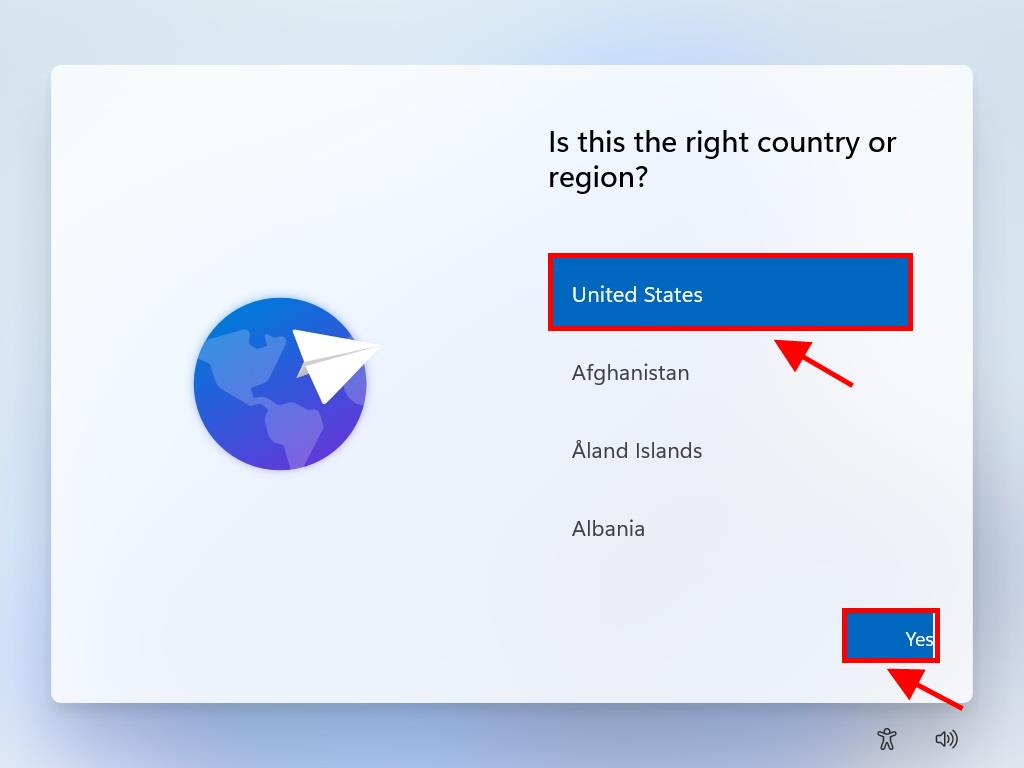
- After installation, select your region and press Yes.
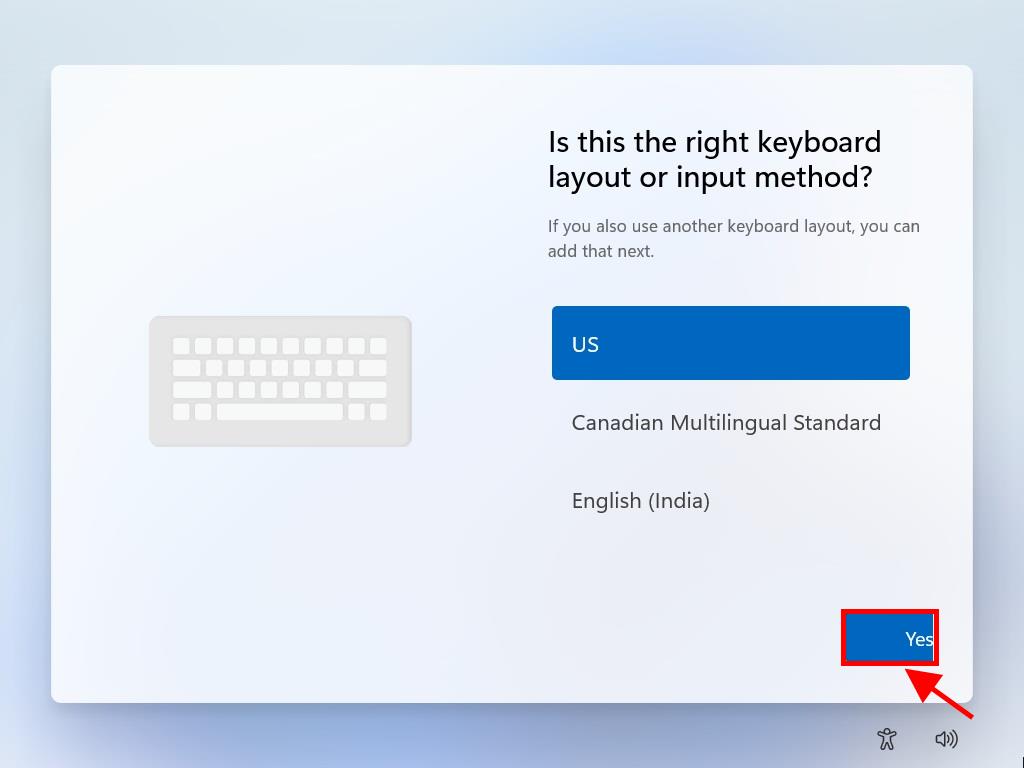
- Choose the keyboard for your region and select Yes.
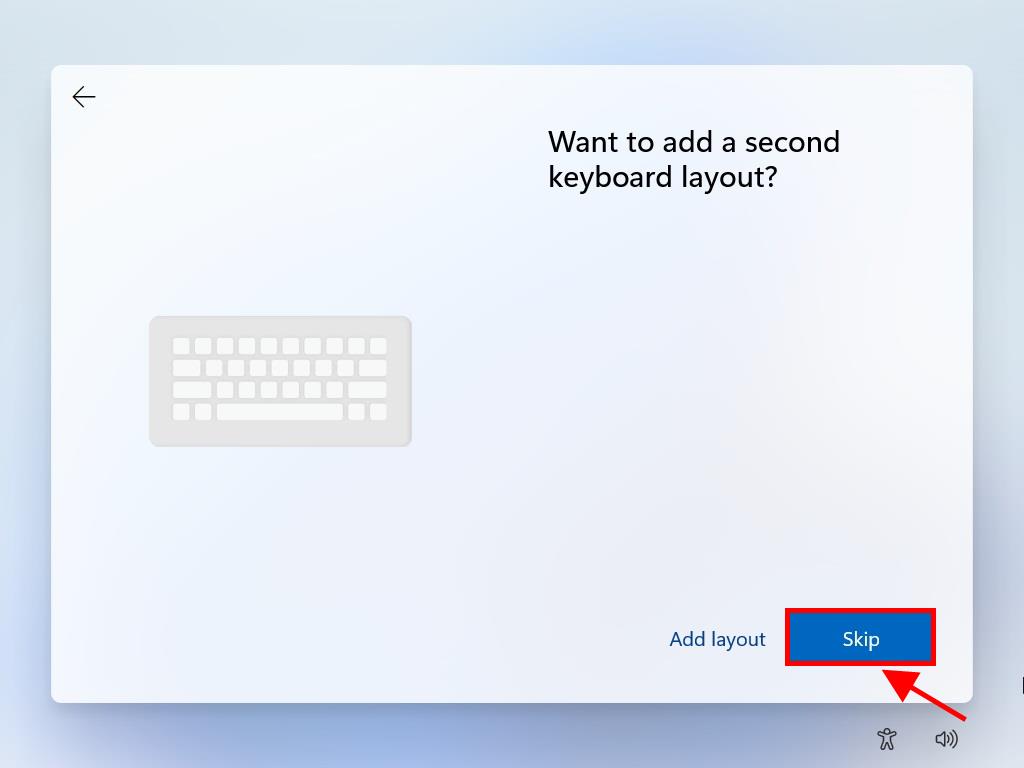
- If no secondary keyboard layout is needed, press the Skip button. The computer will automatically connect to the network if a wired connection is used. For wireless setups, you'll need to manually establish the connection, potentially requiring a security key.
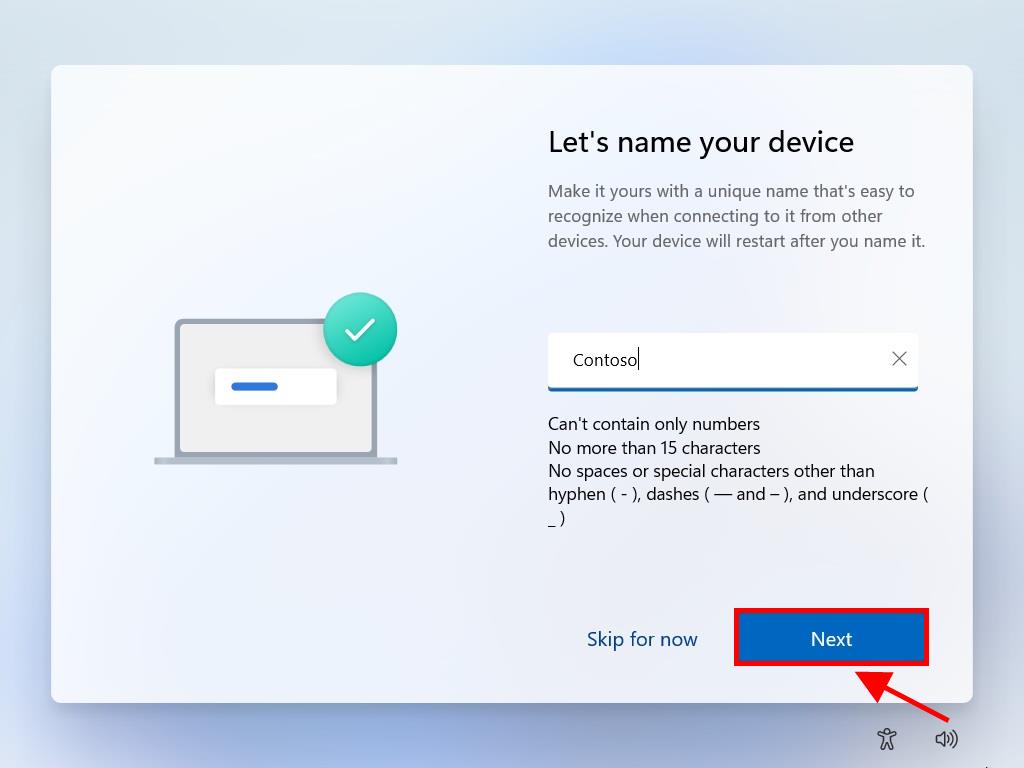
- Next, name your PC and click Next.
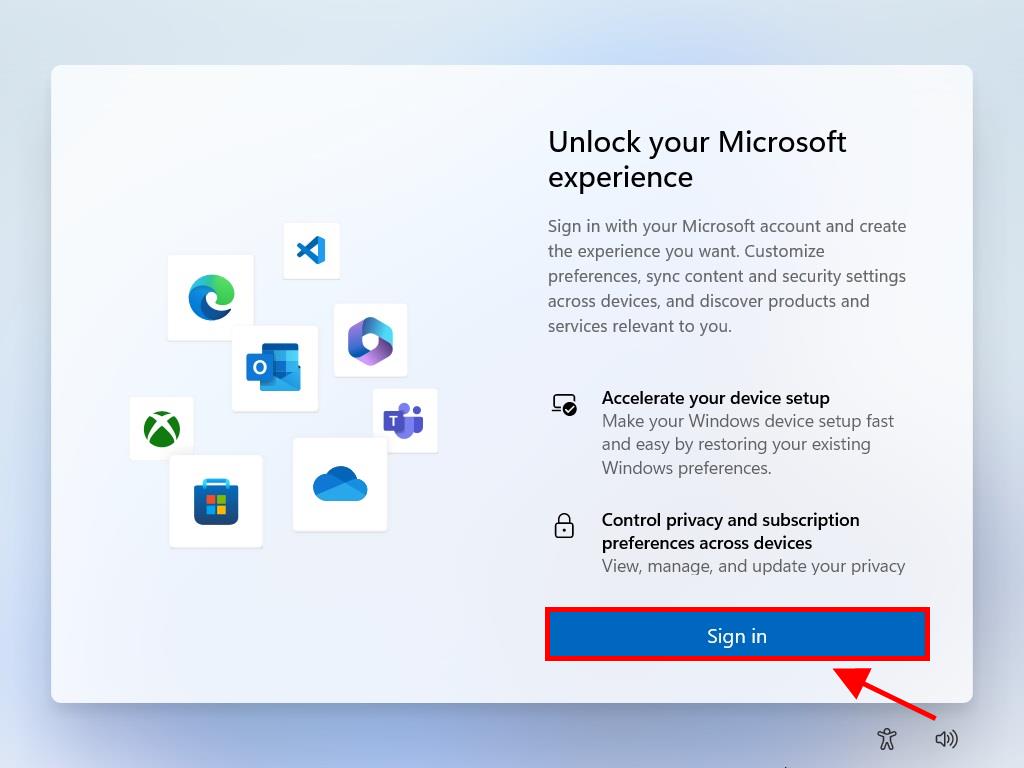
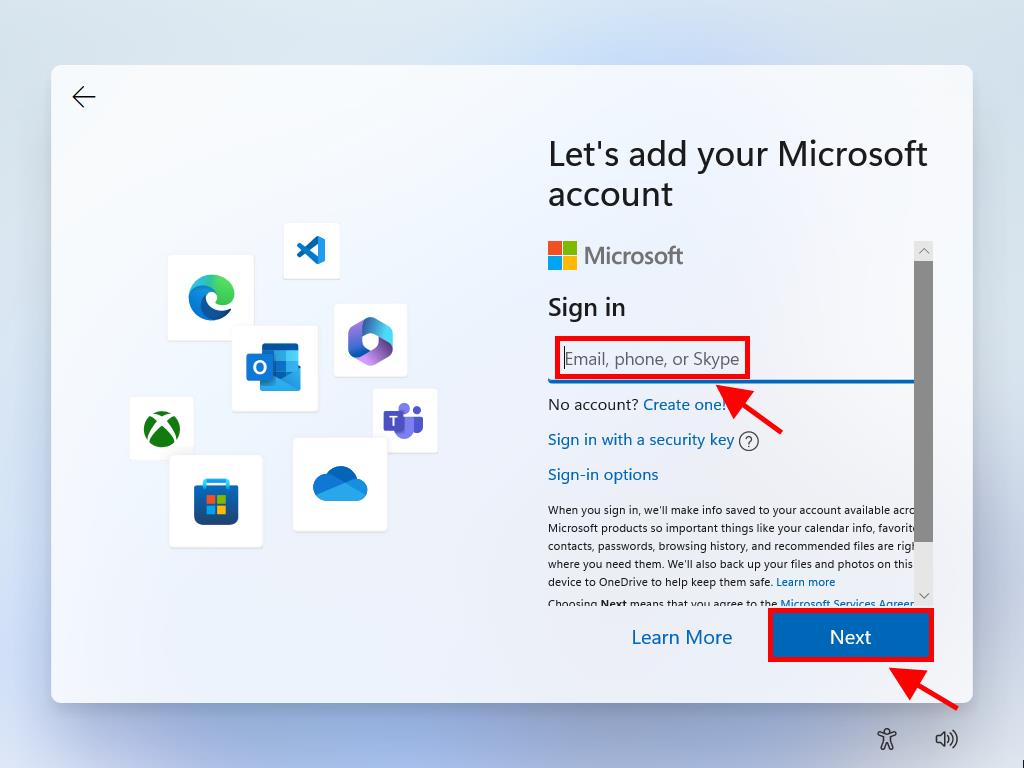
- For accessing your Microsoft experience, click Sign in.
- Input your email and press Next.
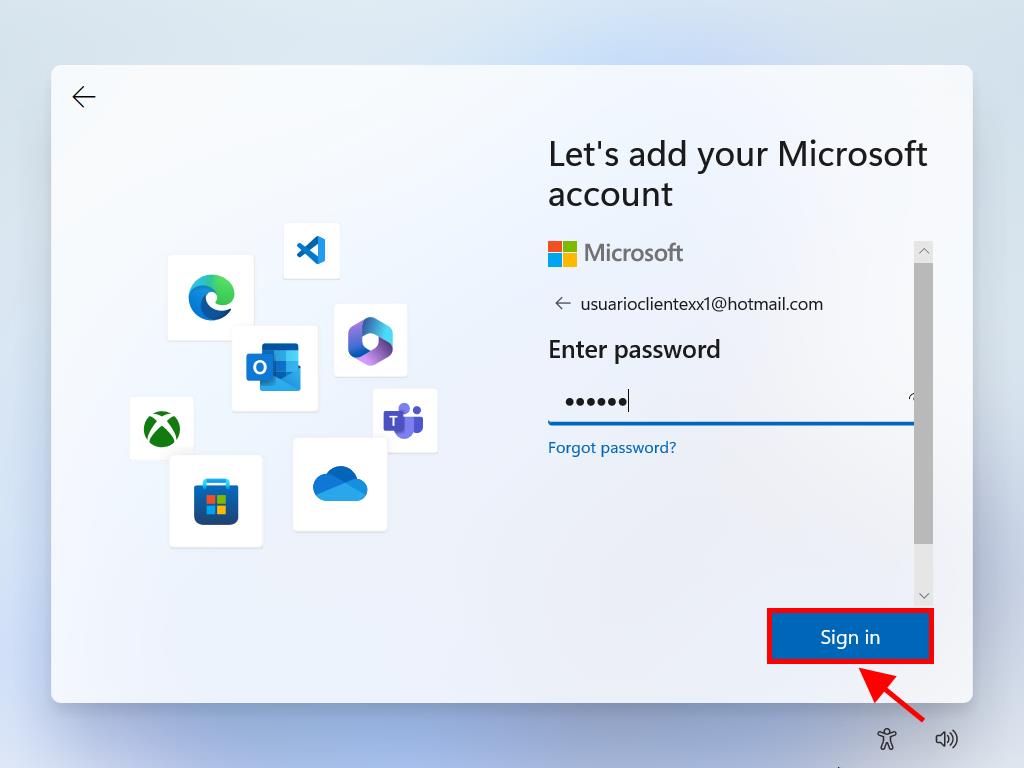
- Enter your password and select Sign in.
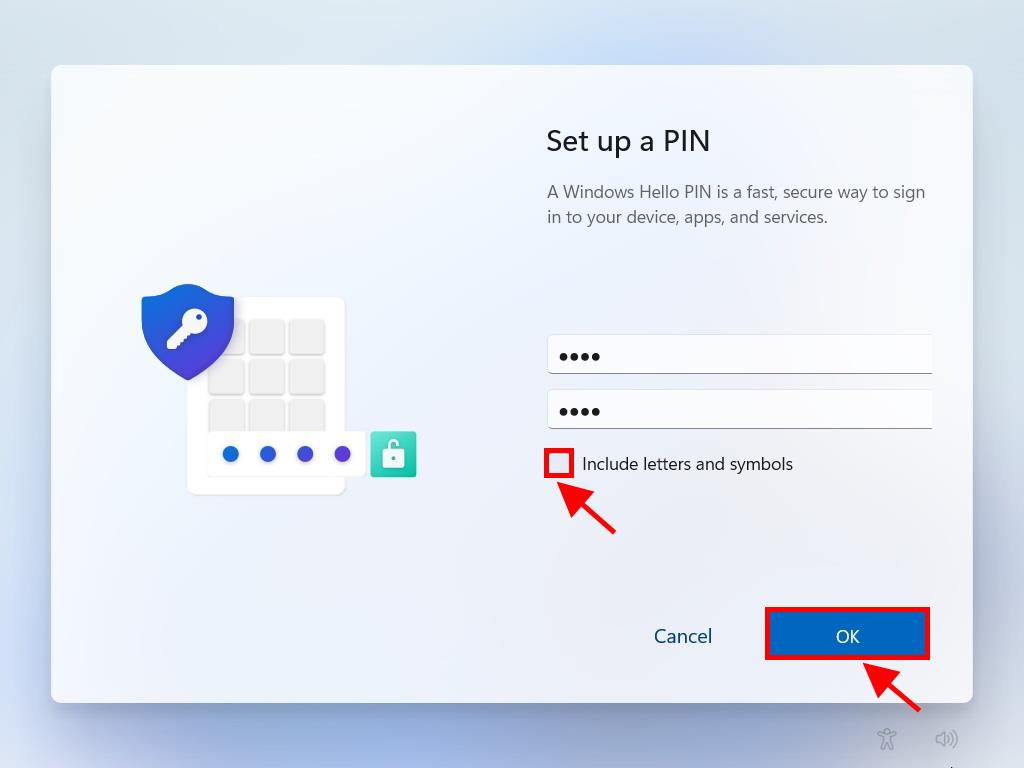
- Create a PIN that includes letters and symbols, check the box, and click Ok.
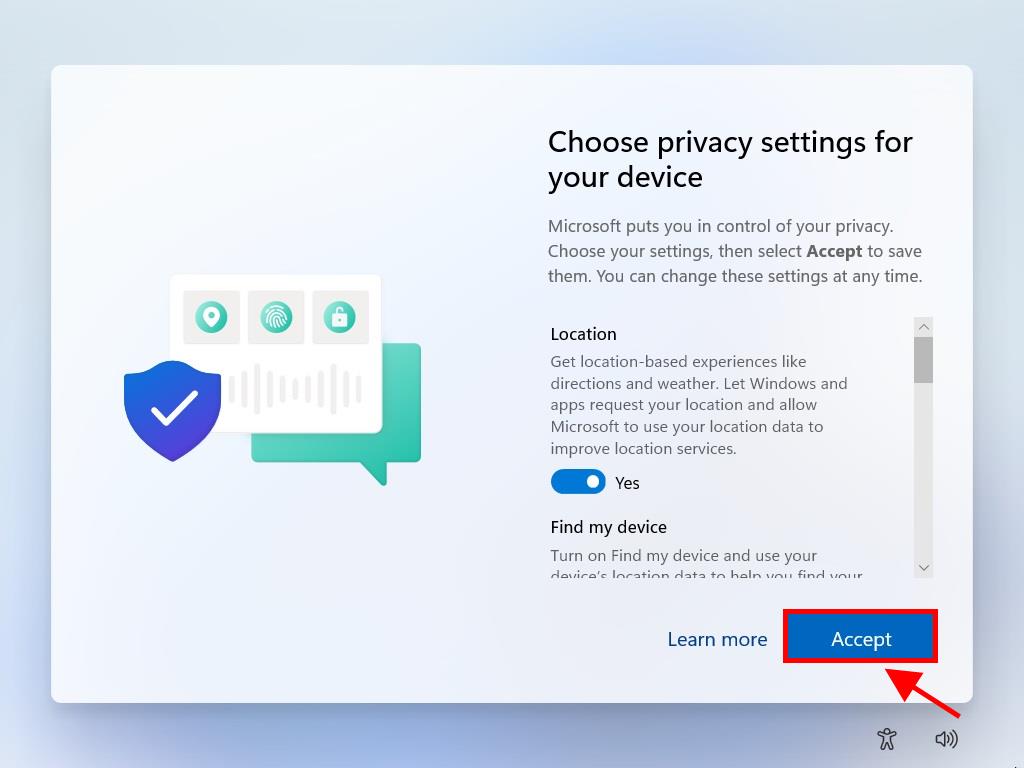
- In the privacy settings, select Accept.
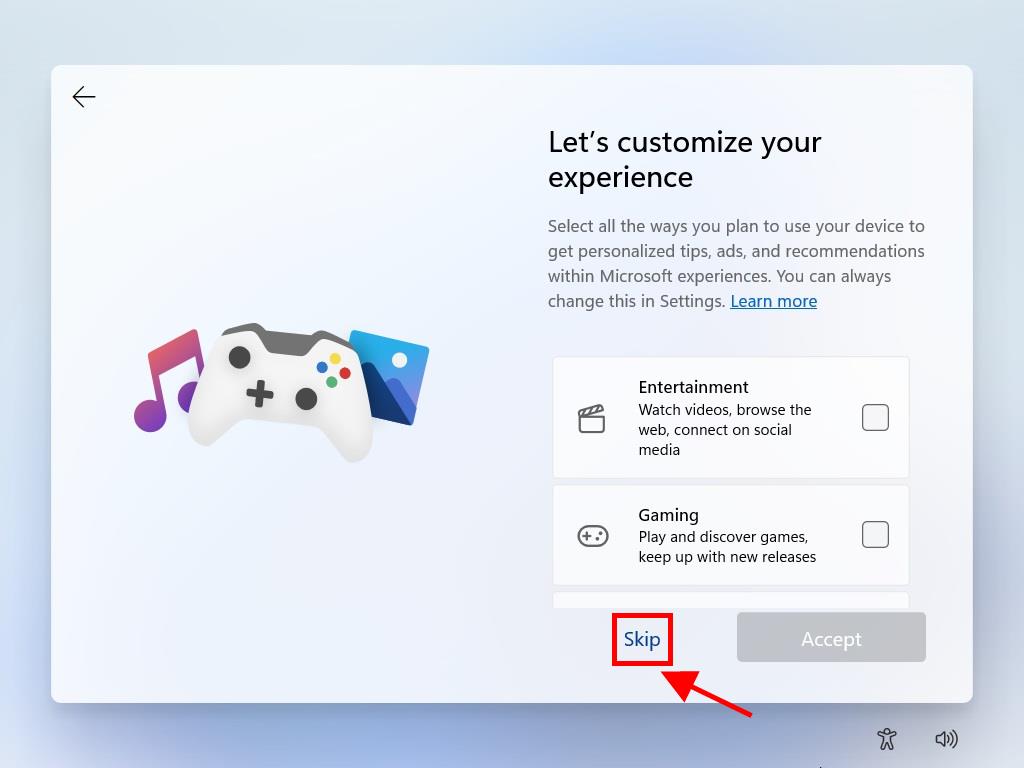
- If desired, customize your settings now or click Skip.
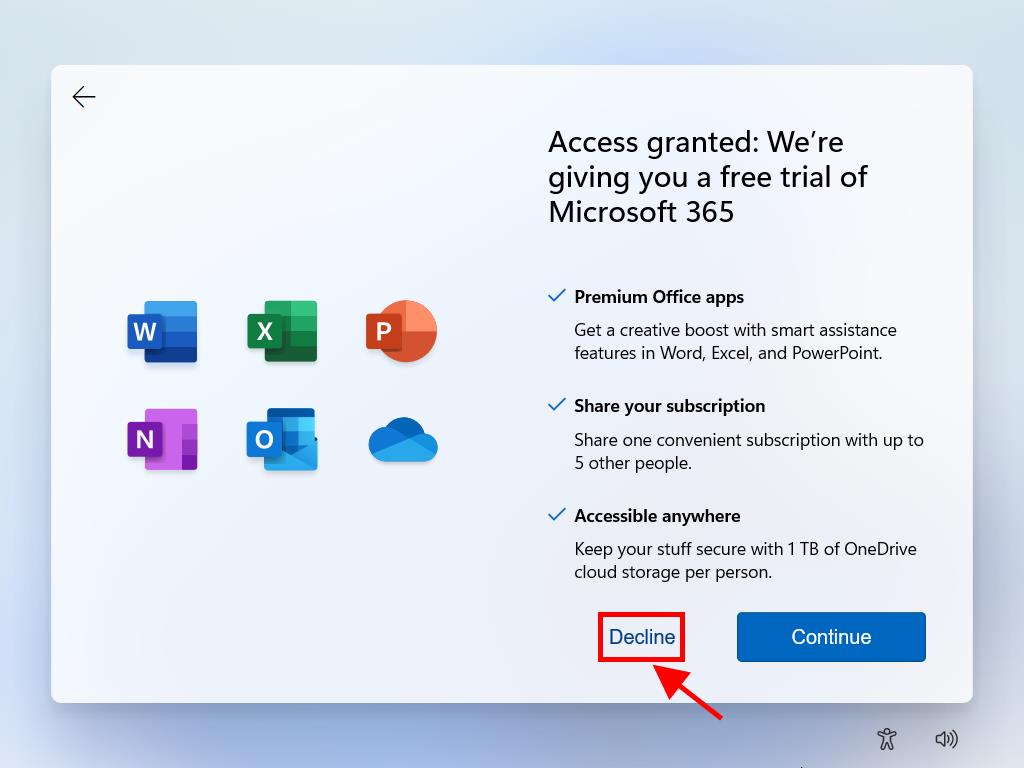
- Under Granted Access, select Decline.
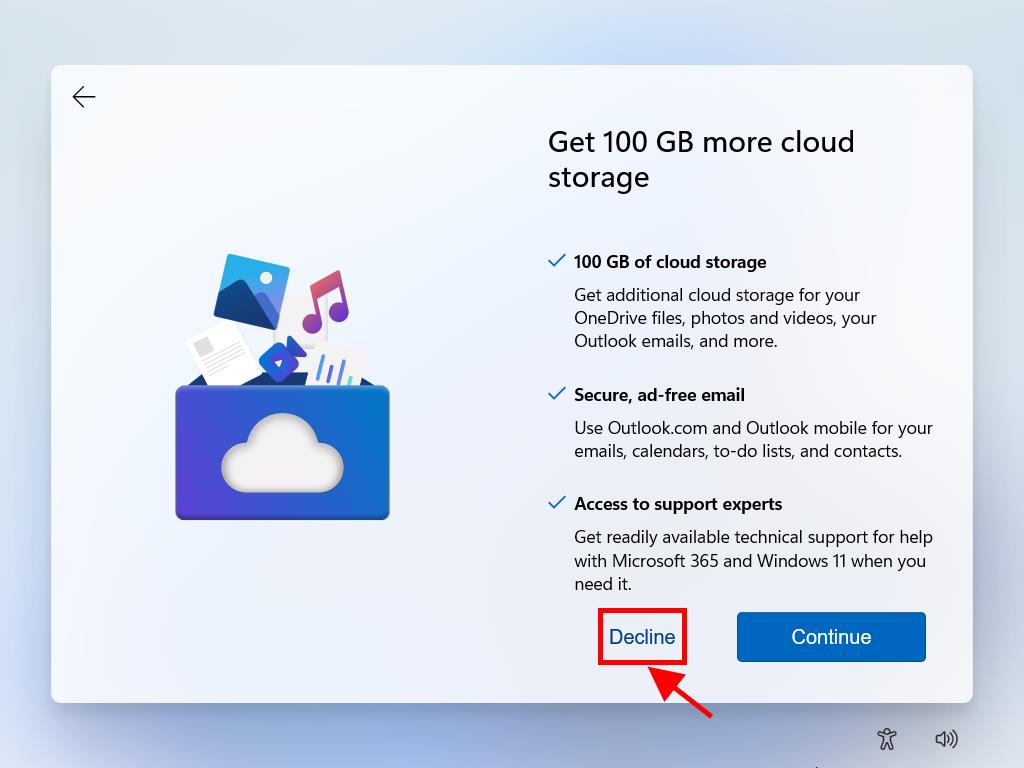
- Also, under the 100 GB cloud storage offer, select Decline.
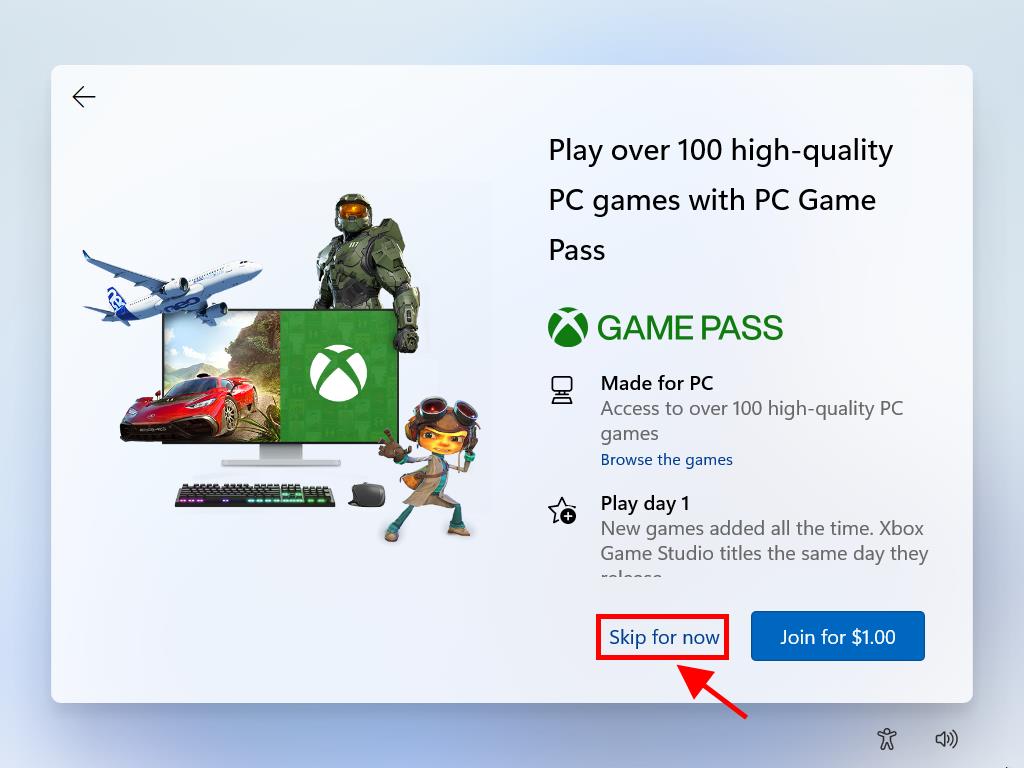
- Opt out of the Game Pass subscription by clicking on Skip for now.
Note: Your PC model determines the specific setup key to use at this juncture.
After finalizing these steps, Windows 11 will proceed with the installation on your device. Once complete, your PC will be ready for use, allowing you to fully enjoy your new software.