Sign In / Sign Up
 Orders
 Product Keys
 Downloads

Guiding Your Windows Server 2019 Installation
To initiate a clean installation, first prepare a USB boot drive. Here’s how:
- Power up your server to ensure it boots to Windows. Insert the USB containing Windows Server and then reboot the server.
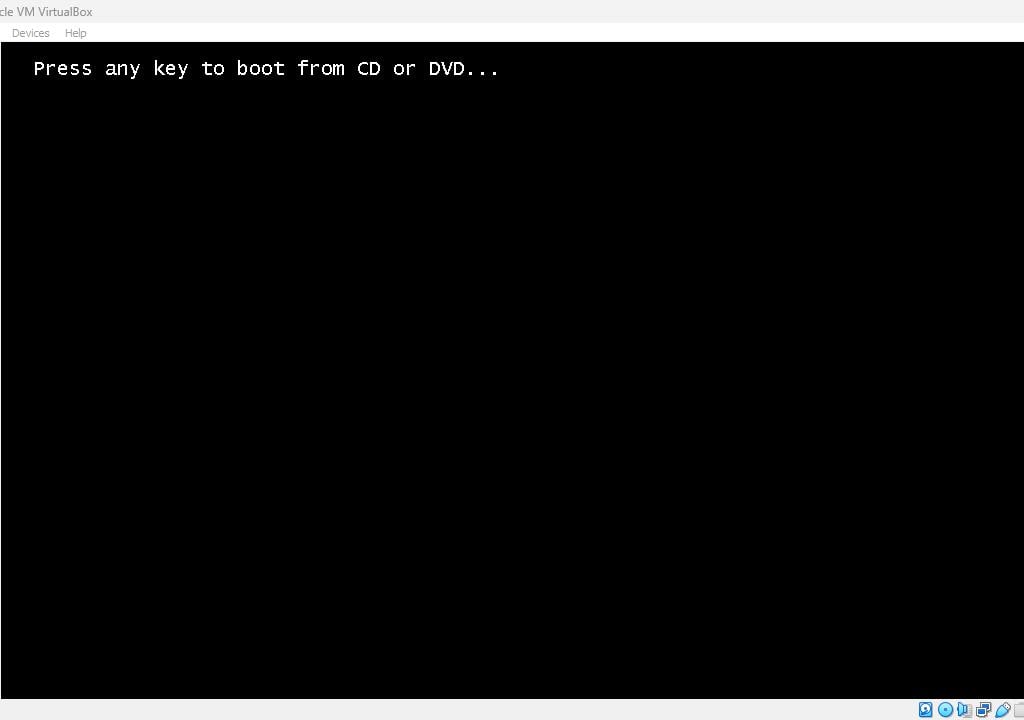
- The system will attempt to boot from the USB stick. Hit any key when you see the prompt Press any key to boot from CD or DVD.
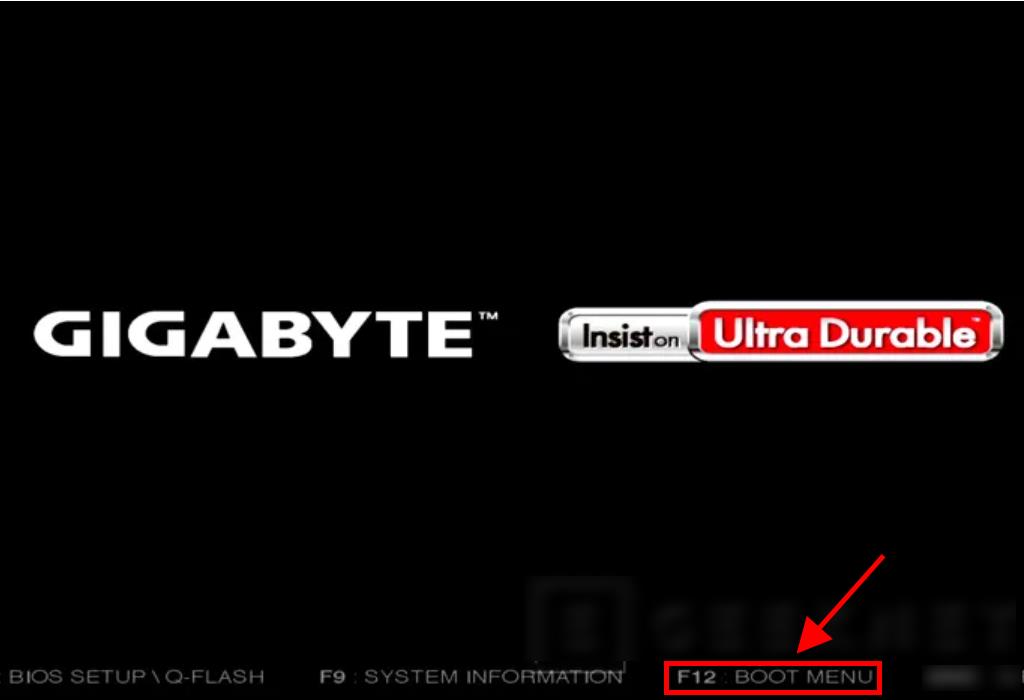
- Upon rebooting, press the key for the BOOT menu, typically F2, F10, F11, F12, or Del, to access it.
- Alter the boot sequence to USB first.
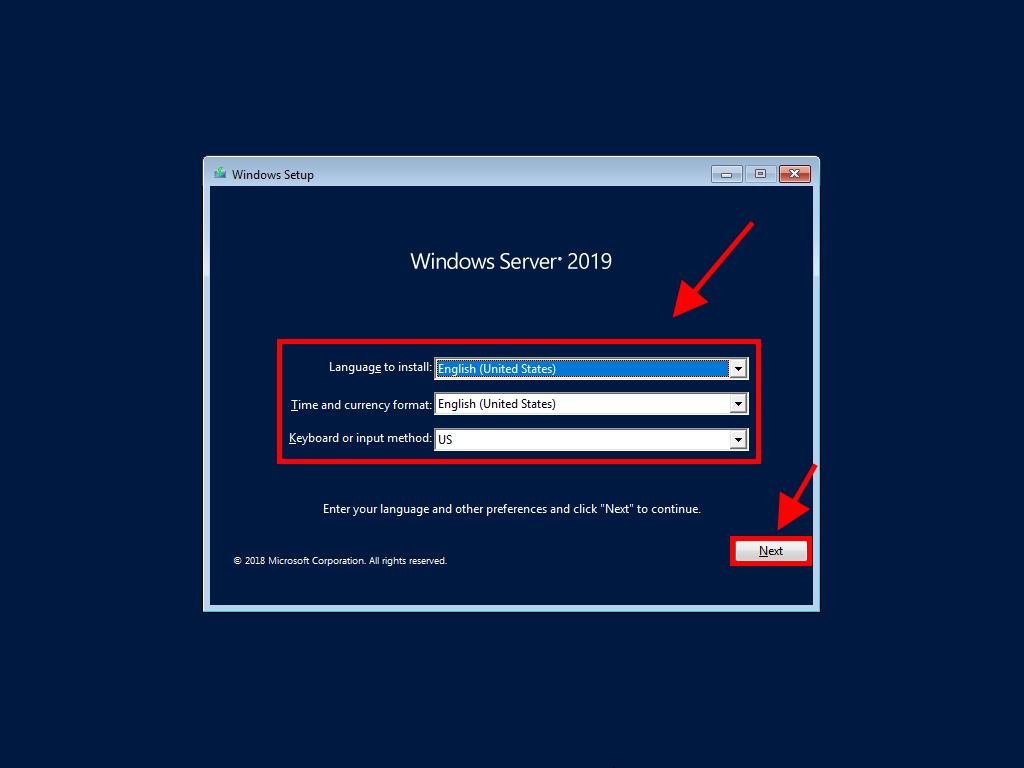
- At the setup screen, choose your language, time and currency format, and input method, then select Next.
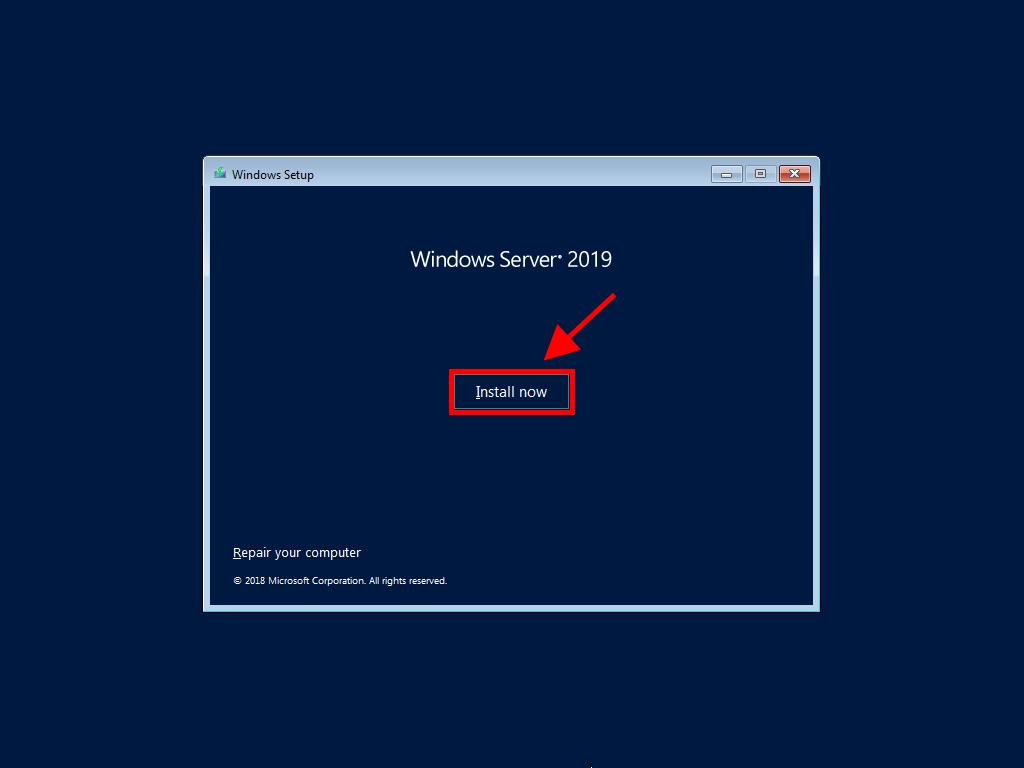
- Click Install now to begin the installation process.
- Input your product key and proceed by clicking Next.
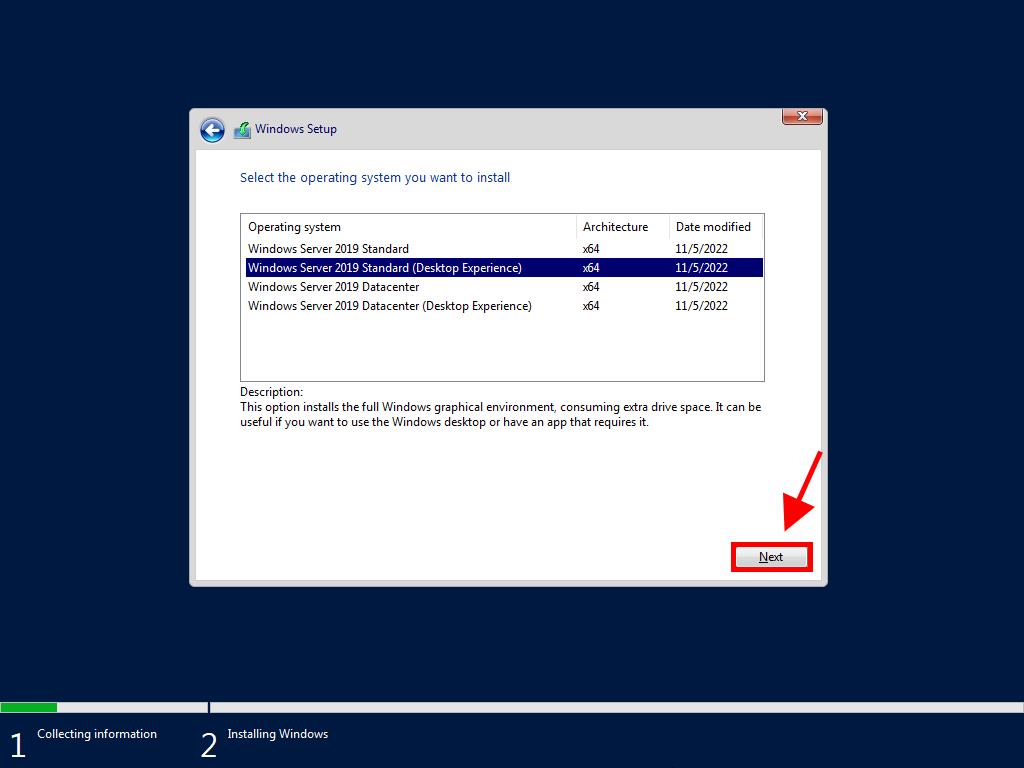
- Choose the Desktop Experience version and proceed by clicking Next.
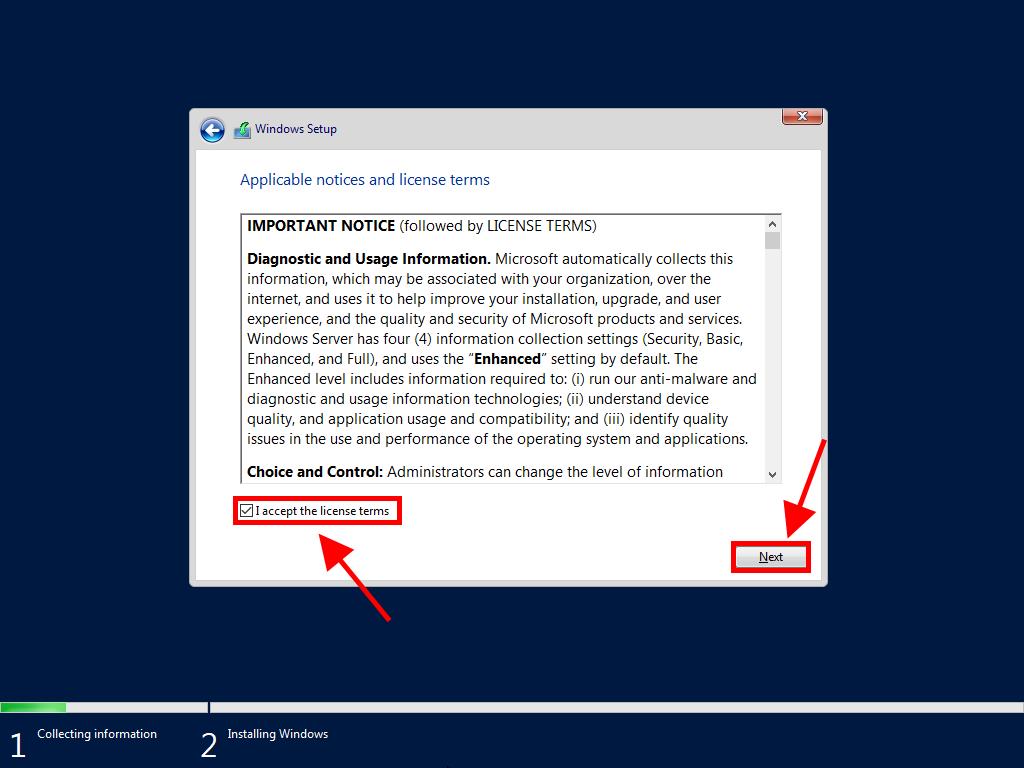
- Agree to the terms and conditions and select Next.
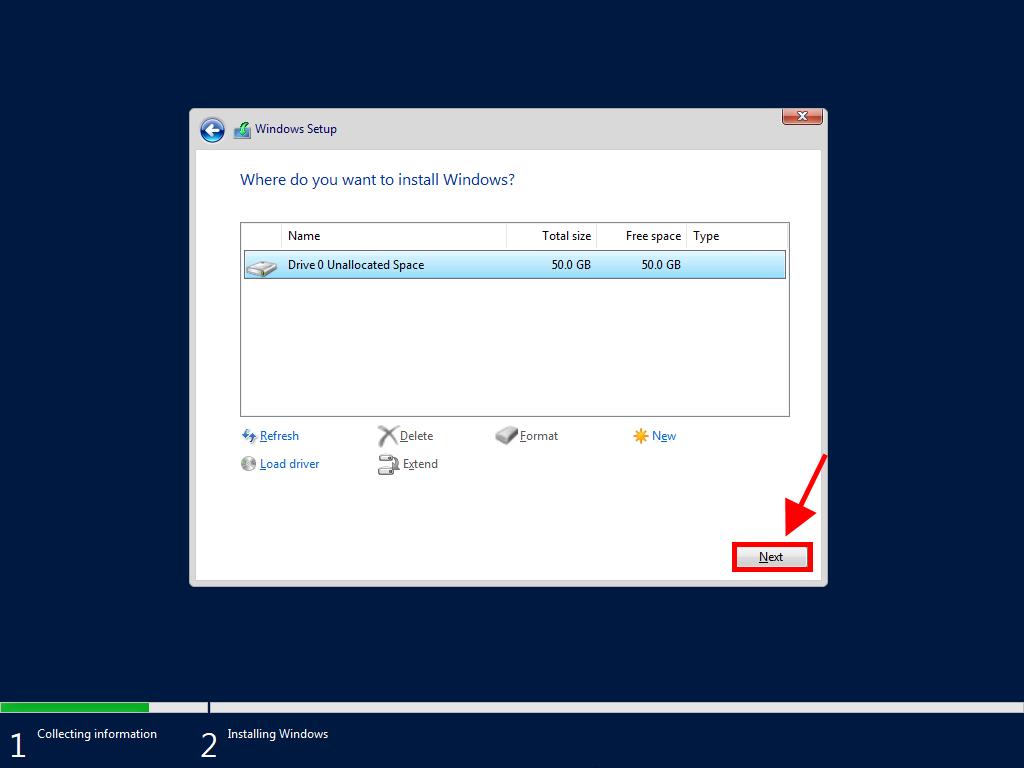
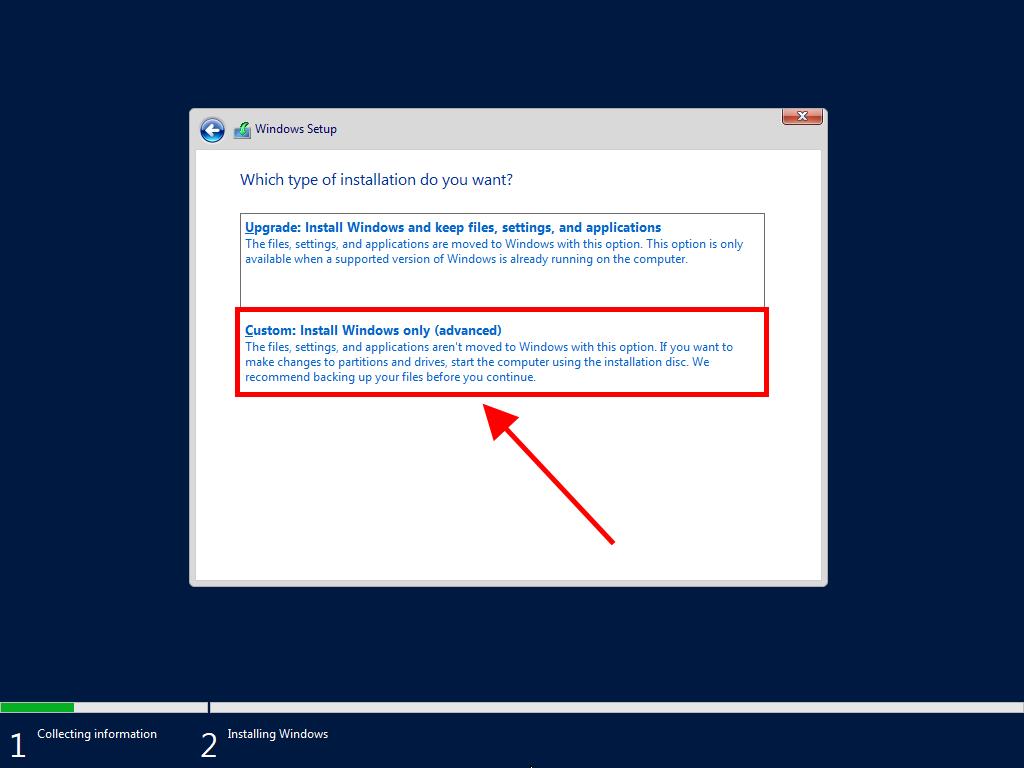
- Opt for Custom: Install Windows only (advanced).
- Select the hard drive for installation and hit Next.
- The installation of Windows Server will commence and may take some time.
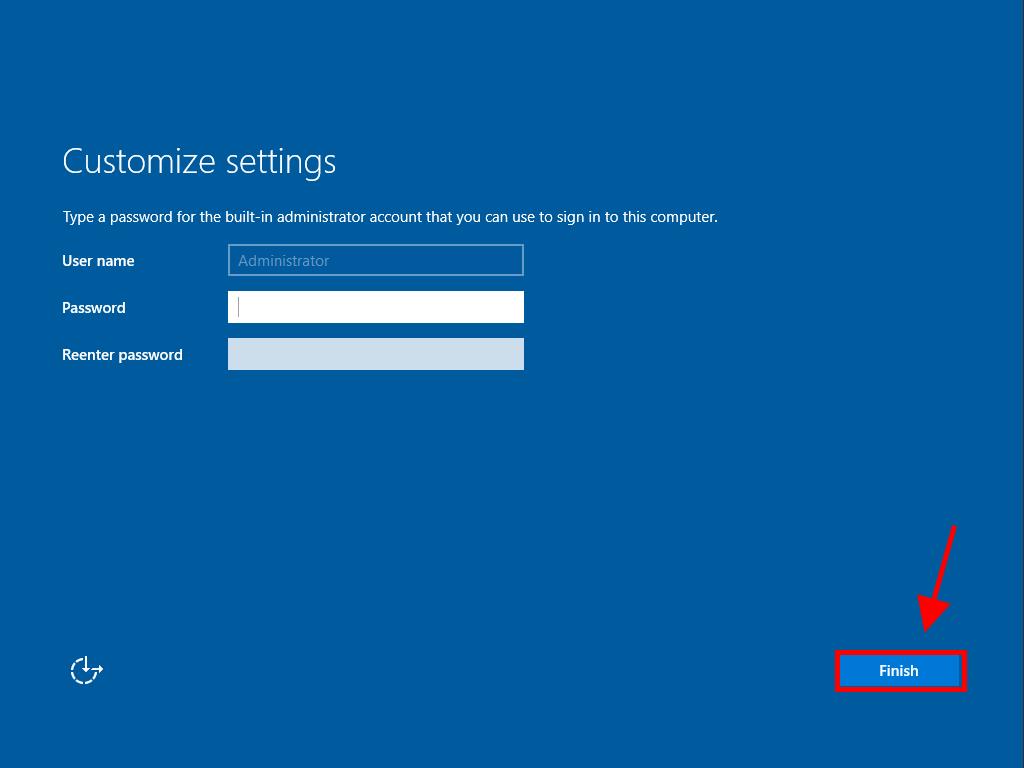
- Create a memorable password and select Finish.
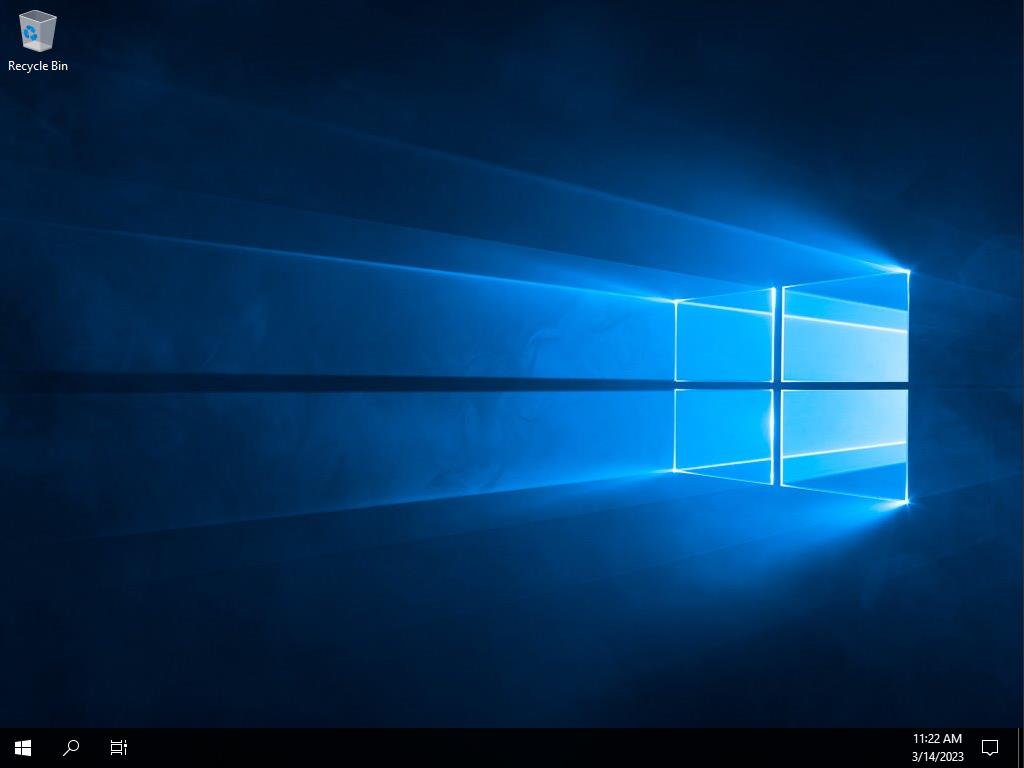
- Finally, use Ctrl+Alt+Del to sign in and view your Windows Server desktop.
Important: If the system reboots and fails to start the Windows Server setup, adjust your PC’s BIOS settings to prioritize USB booting.

Note: For optimal functionality, delete all partitions on a new hard drive.